This site contains affiliate links, view disclaimer for more information
Looking to hang paste-the-wall wallpaper soon for the first time? This post walks you through how I hung my wallpaper and some helpful tips!

Is it your first time hanging wallpaper and you are trying to find the best and easiest guide?! Let me help!
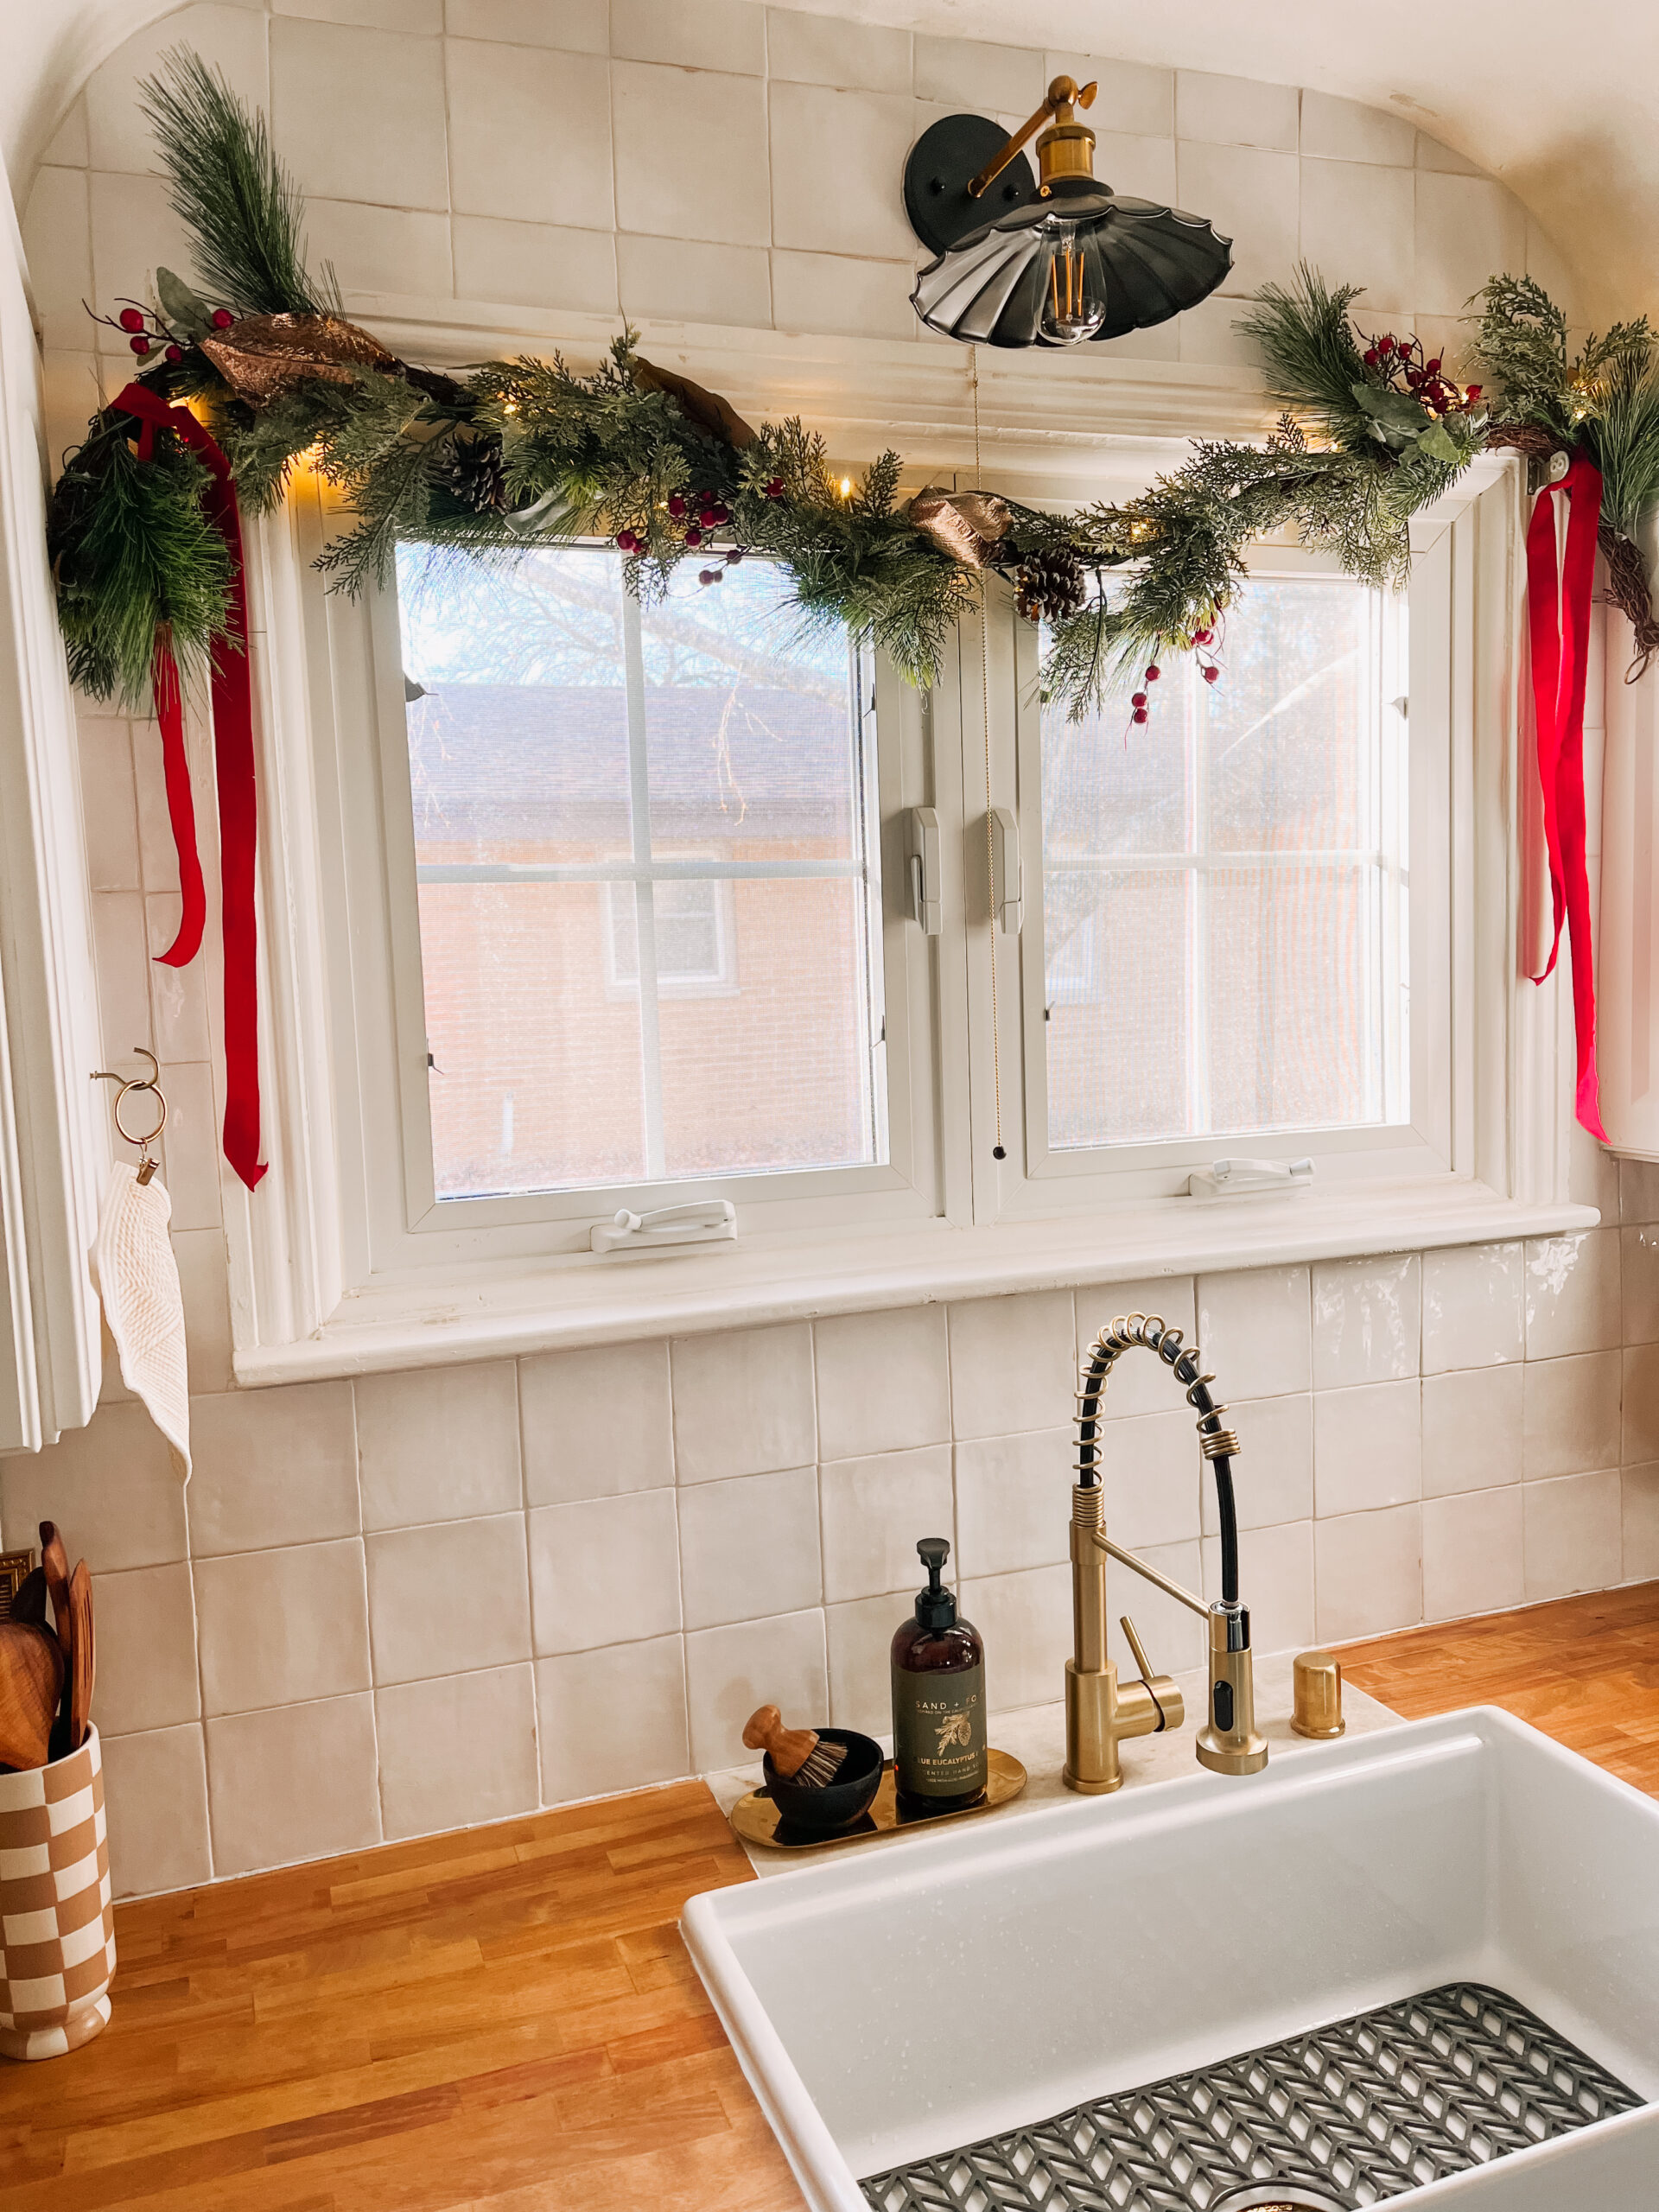
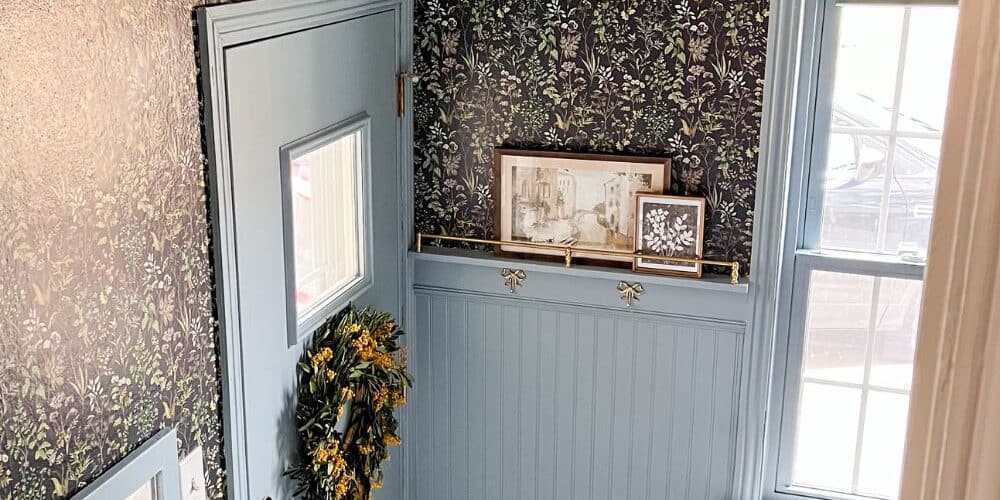
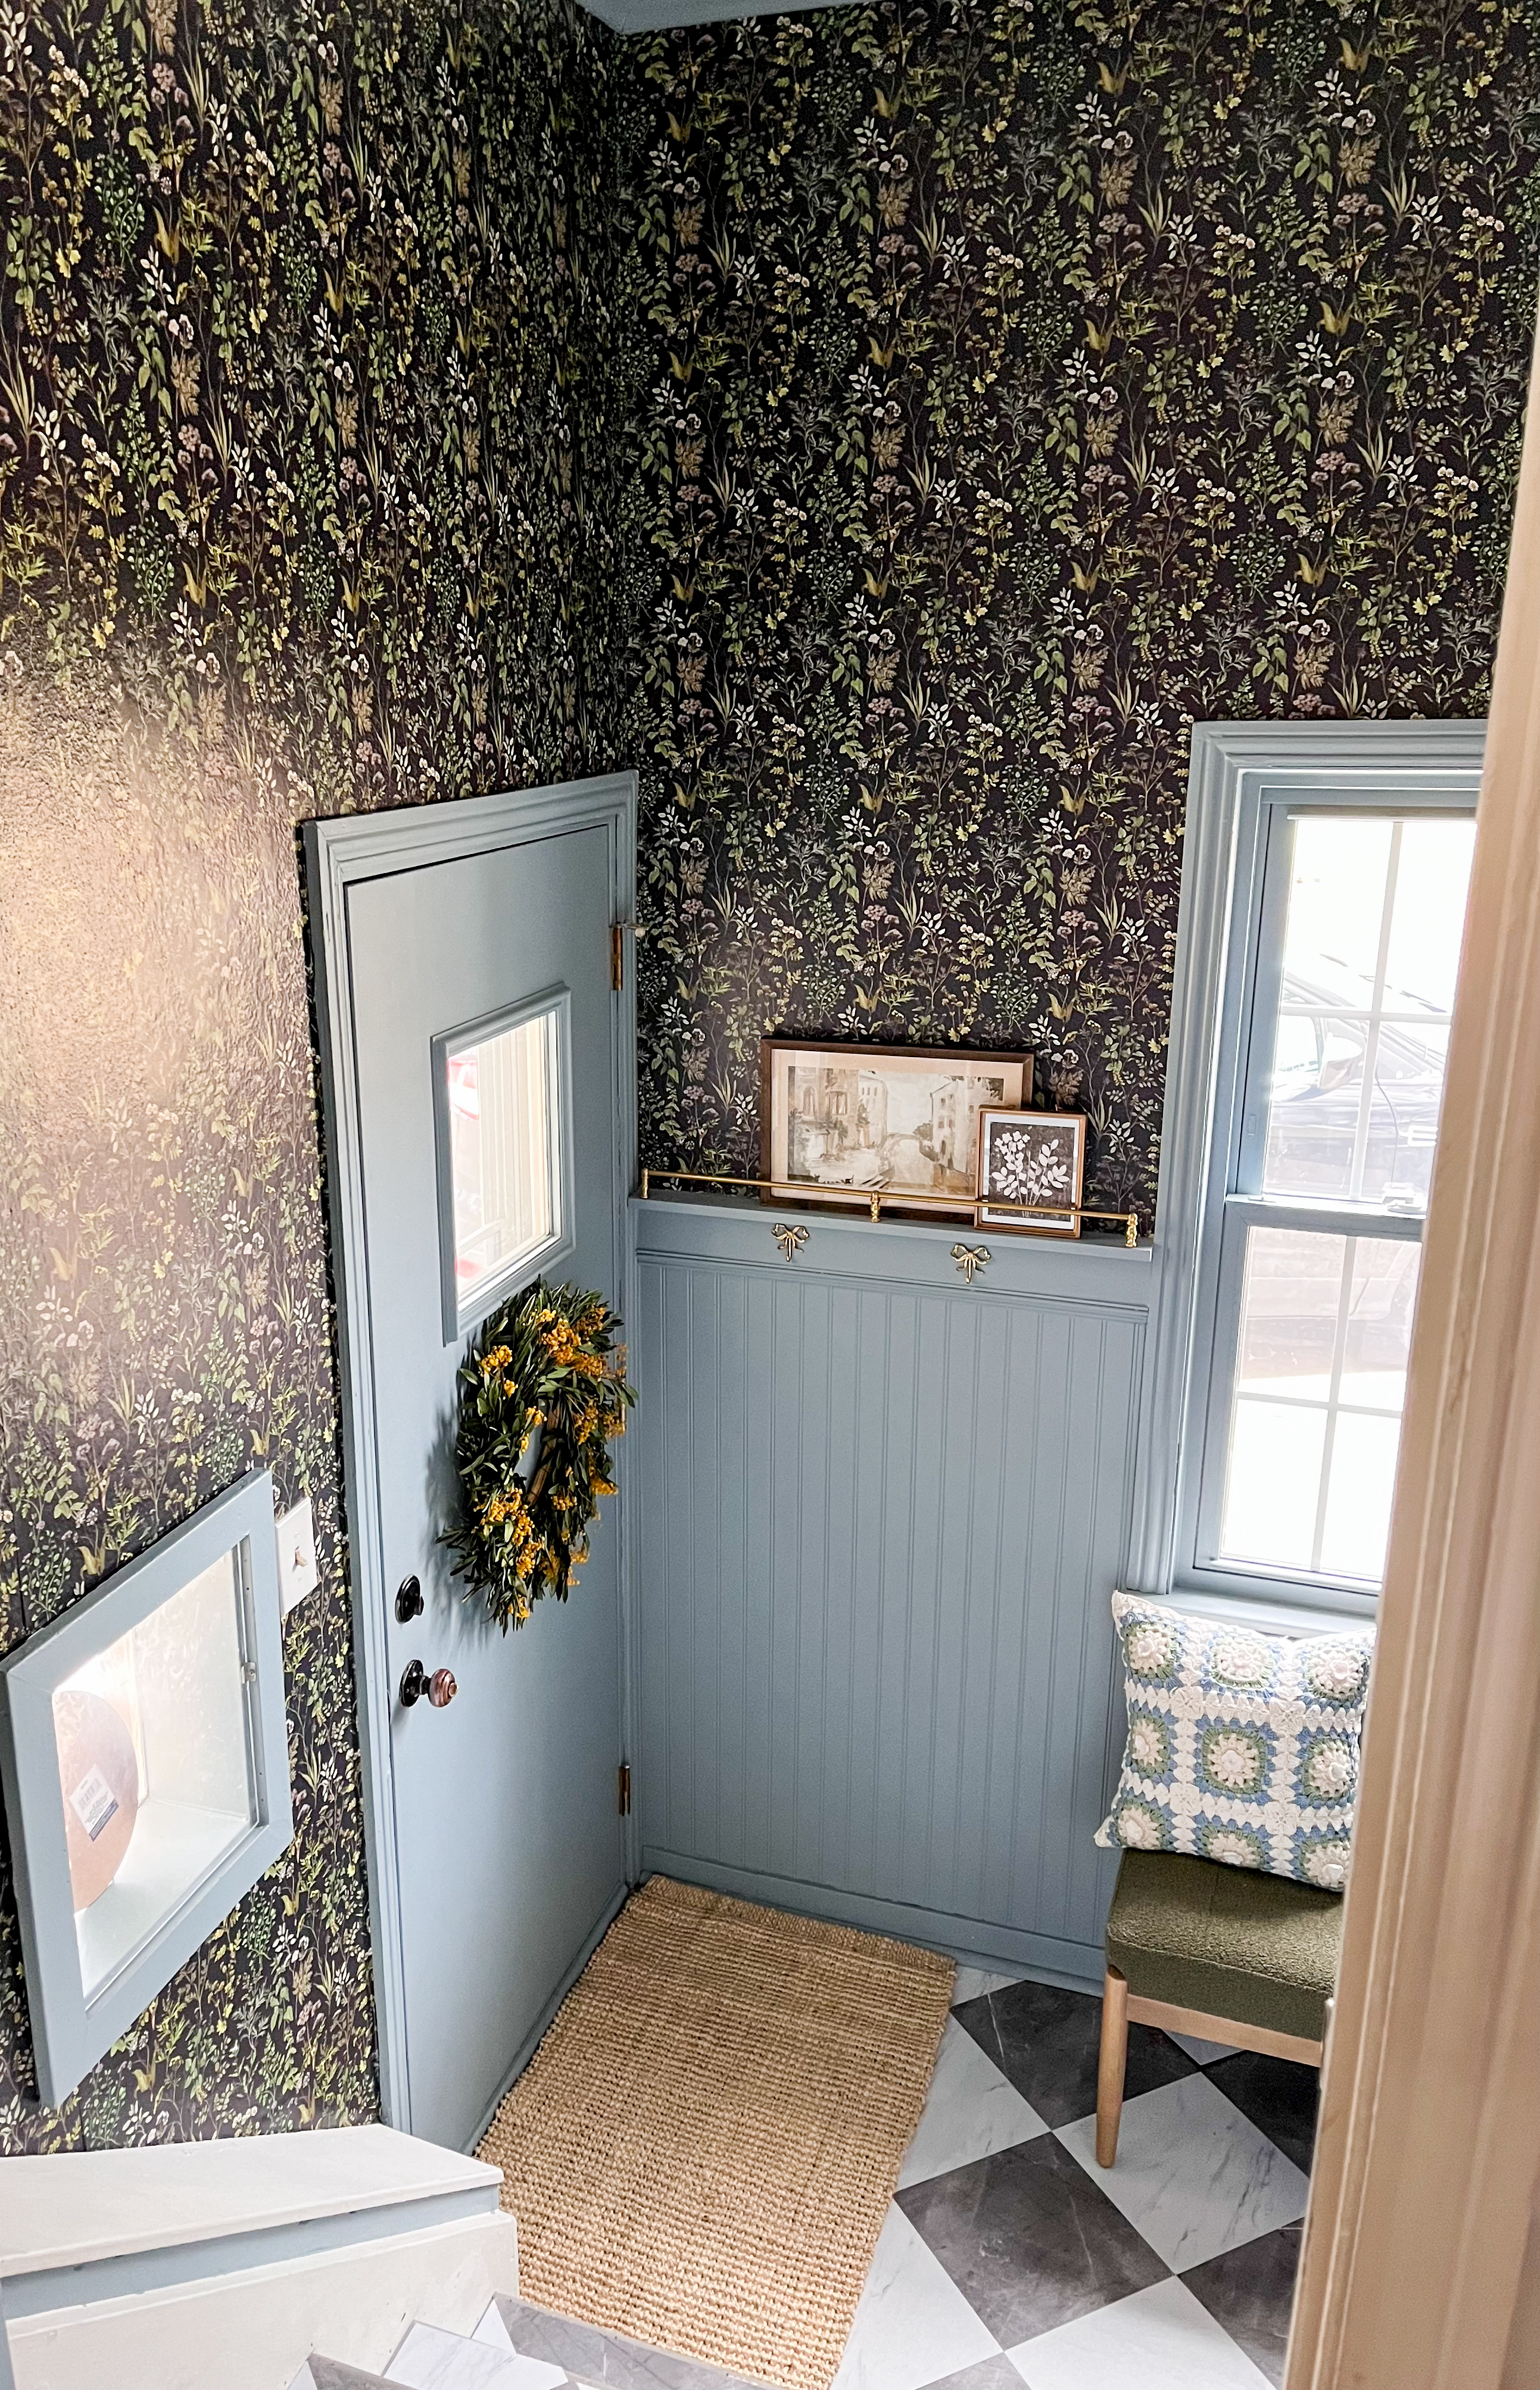
I’m sure you are seeing a lot of posts made from professionals, and the guides are just difficult to follow and it feels like so many steps, am I right? It’s overwhelming!! I just re-did my mudroom, and really aimed for a charming and moody vibe, which is exactly how it feels and I LOVE it! I really wanted to do a transitional style wallpaper (details on items I used and wallpaper below) – and I’m so proud of myself for how it turned out, especially being my first experience using wallpaper. I’m going to list 5 steps for how to hang wallpaper, making it easy and giving you confidence in yourself 🙂
Don’t let wallpaper intimidate you – YOU GOT THIS, I BELIEVE IN YOU!!
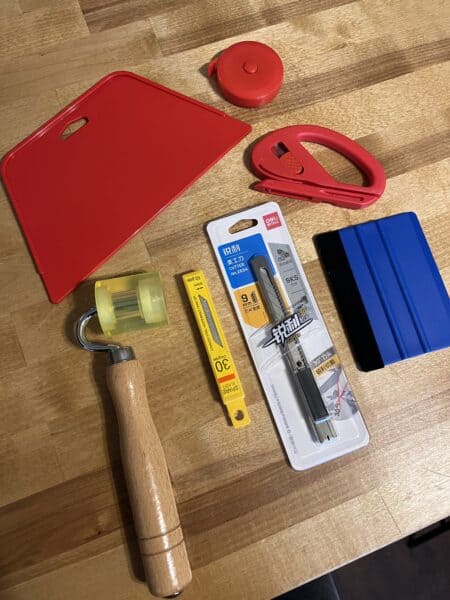
1. Gather your Materials
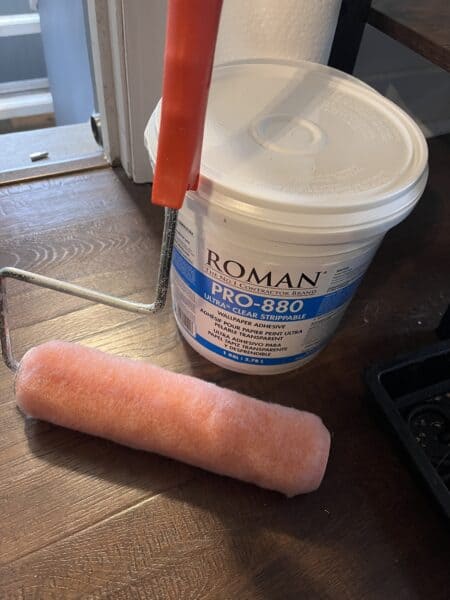
- Wallpaper kit (Squeegee, boxcutter/knife, seam roller, retractable measuring tape)
- Wallpaper Adhesive
- Paint Brush
- Paint roller kit
- Wallpaper (of course;) use code jenna10 for 10% off :))
- Black crayon (if using dark wallpaper)
- A friend (it’s seriously super helpful to have a helping hand!!)
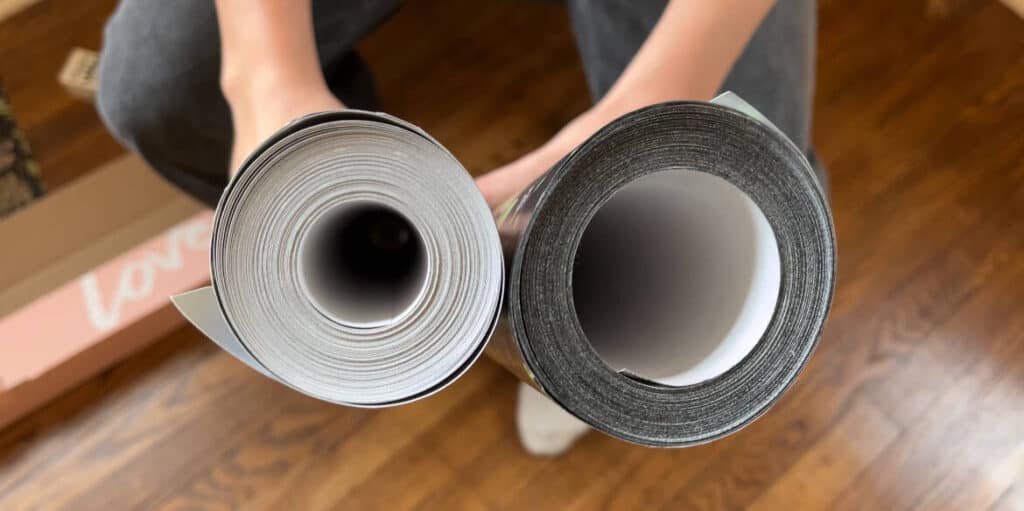
2. Choose your Wallpaper
The first, and most important – choose your wallpaper! I can’t recommend paste-the-wall wallpaper enough (vs. paste-the-paper or any other kind). It’s so much easier to put adhesive onto the wall and stick the paper onto the wall, than it is to add adhesive to paper and then transfer it onto the wall – trust me on this!! Additionally, I recommend wallpaper that butts up against each other, it doesn’t require overlapping which is big!! I personally really recommend the Milton & King brand – their wallpaper is super easy to work with, it glides after you put it on – it is easy to put it in the perfect place (the panels butt up against each other), the print and quality is amazing, and lastly they are there to help if needed, they have a great FAQ page as well that is very helpful!
If you go with a dark wallpaper, I’d recommend getting a dark colored crayon to color the seams (the side of wallpaper), so instead of having white edges, you color them to be dark (see reference picture below) This will give your wallpaper a seamless look! You can watch the tutorial here.
3. Prep and Pro Tips
Make sure you measure your walls, and read the sizing guidelines of the business you are buying from – you don’t want to end up short on how much wallpaper you have, so be sure to get a little more than you need!
Clean your walls – wipe them down / dust them off to assure for best adhesion. Fill any nail or screw holes – the wallpaper needs wall to adhere too 🙂
Optional: Prime your walls – there are specific wallpaper primers out there, it’s not required – but it is recommended, especially if you have more porous walls. I did not prime my walls (oopsies), but the wallpaper looks great and I’ve had no problems.
Optional: Banding – finding where your seams will line up and then paint that portion of the wall a similar color to the wallpaper, which would create a seamless finish!
Optional: Coloring seams with crayon – this is the one optional thing I did do, and I’m so glad I did! You cannot tell where the seams are head on at all, and it made such a difference with dark wallpaper otherwise there would be the possibility of white edges and that wouldn’t look as great!
4. Paste-the-Wall
Time to get started – woohoo! Pour your Wallpaper Adhesive (I used Roman 880 – its the consistency of glue) into a paint tray. Get your roller ready – I used a 9in semi smooth roller. Measure your first wall, add about 4 inches – you want to have a couple inches extra on each side so you can cut it to fit perfect. Measure from your wallpaper roll and cut your first panel! Once that is cut, roll the adhesive onto the wall – apply a sufficient amount of paste about a panel and a half in length to ensure full coverage. Use a paint brush to get edges and parts against trim and baseboards.
5. Hanging the Wallpaper
It is crucial to have a helping hand here – it makes it so much easier, trust me!! After your paste is on the wall and your panel is cut – bring your panel over to the wall (I suggest starting with a corner piece vs the middle of the wall). Attach the top of your wallpaper (with a couple extra inches hanging off the top) to the top of the ceiling line or wherever you are positioning it. Have your helping hand hold the rest of wallpaper so its not resting against the wall yet. Align the top and bottom before smoothing down the wallpaper. Once it is aligned, use a clean roller, or sponge to smooth out the paper, starting at the top and working your way down and from middle to outside. Be thorough during this step as you don’t want to have any air bubbles. Additionally, you may notice some extra paste that comes out while doing this, that’s completely normal, but you want to make sure you don’t push out all the paste, as that is still needed for the wallpaper to adhere.
Cut your next piece of wallpaper and paste your wall, you want to make sure when you are cutting the length of wallpaper, that you consider where your design lines up – I messed up a couple times here and then my panel ended up being too short because of where the designed matched up. After that is cut, you want to hold up your wallpaper and line up the design and butt join the pieces. The specific wallpaper I used joined at the seams, so there was no overlap needed which made it super easy to work with 🙂 Optional: use a seam roller to roll over the seams to really secure the adhesion.
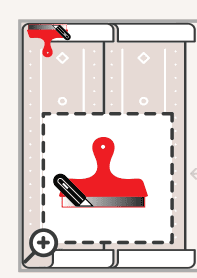
When you are happy with the position of your wallpaper, use a straight edge, such as the squeegee, and press that against the edge of your ceiling line or trim. Grab your sharp blade, and cut the excess off of the top and bottom (see image to the right).
Continue this process for the rest of your wall(s). If you have to go around any windows – you may need to cut your wallpaper close to the corners to allow your wallpaper to fall where it needs to (see video here).
You are done 🙂
And voila! That is all it takes!! Be sure to check-in on the wallpaper here and there over the next day to make sure it is adhering. Let me know if you have any questions!
View more how to videos about installing wallpaper on my TikTok @moreforlessinspo
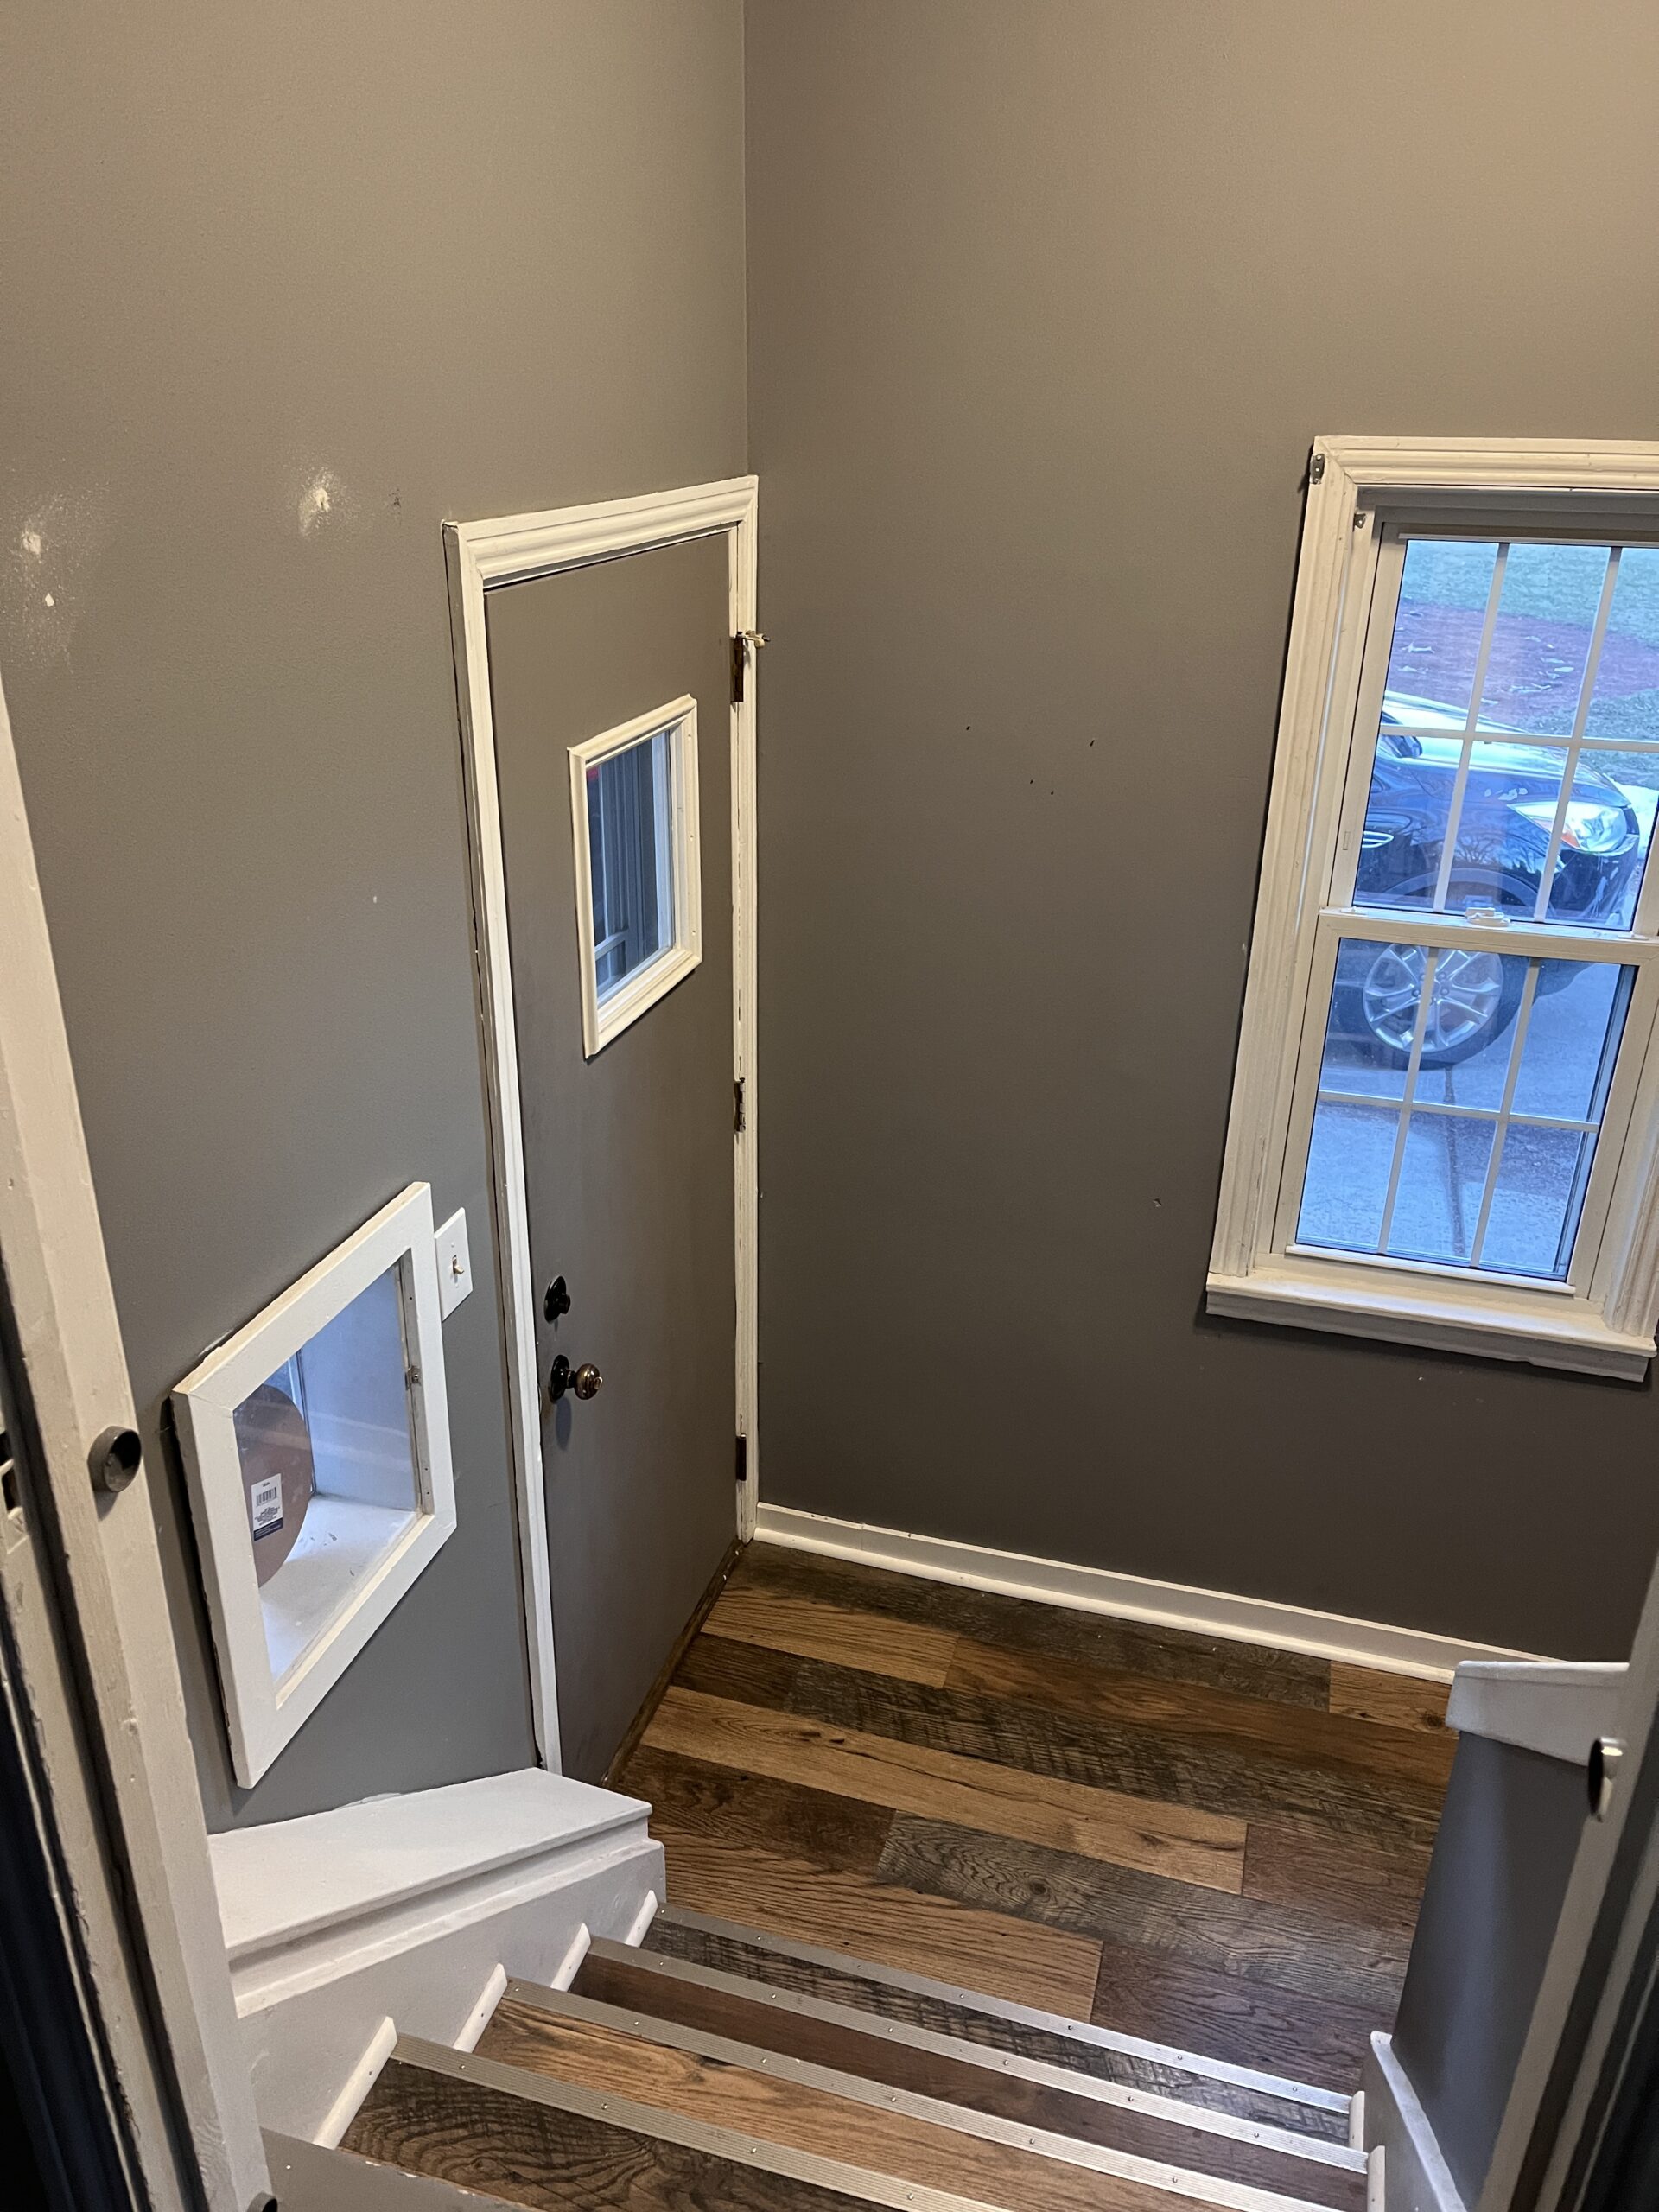
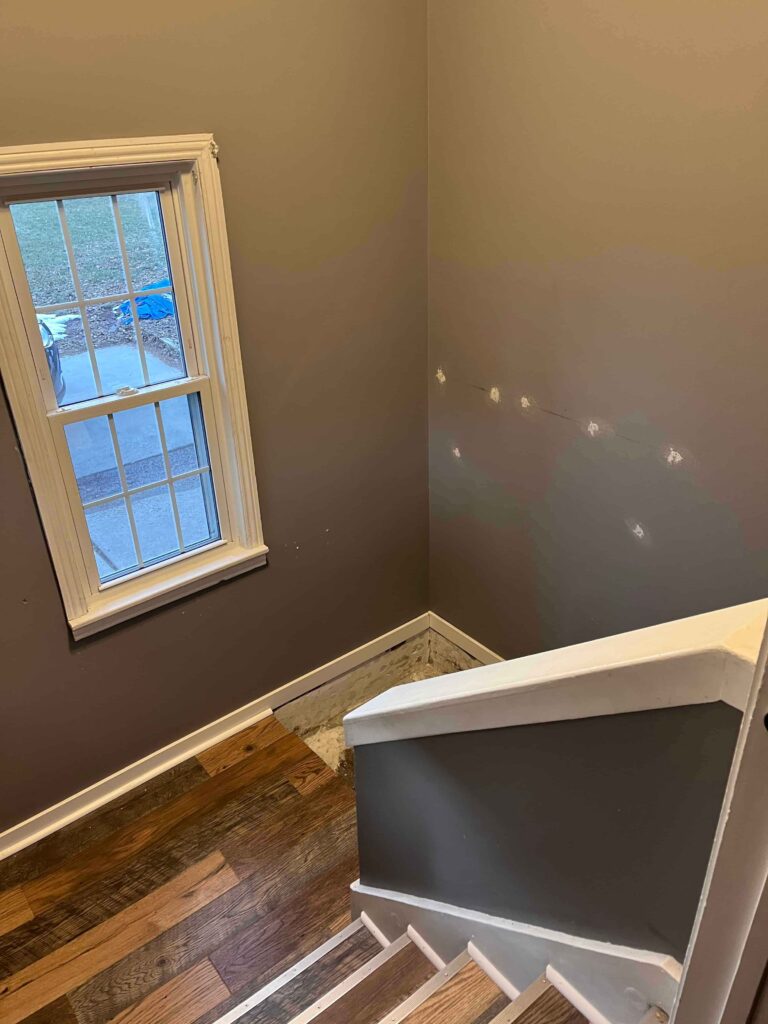
See below for my before and after!