Welcome to one of my favorite DIYs! It’s been over a year since I’ve painted my porch / porch steps and they are still in great condition, and I’m loving them so much!
This site contains affiliate links, view disclaimer for more information
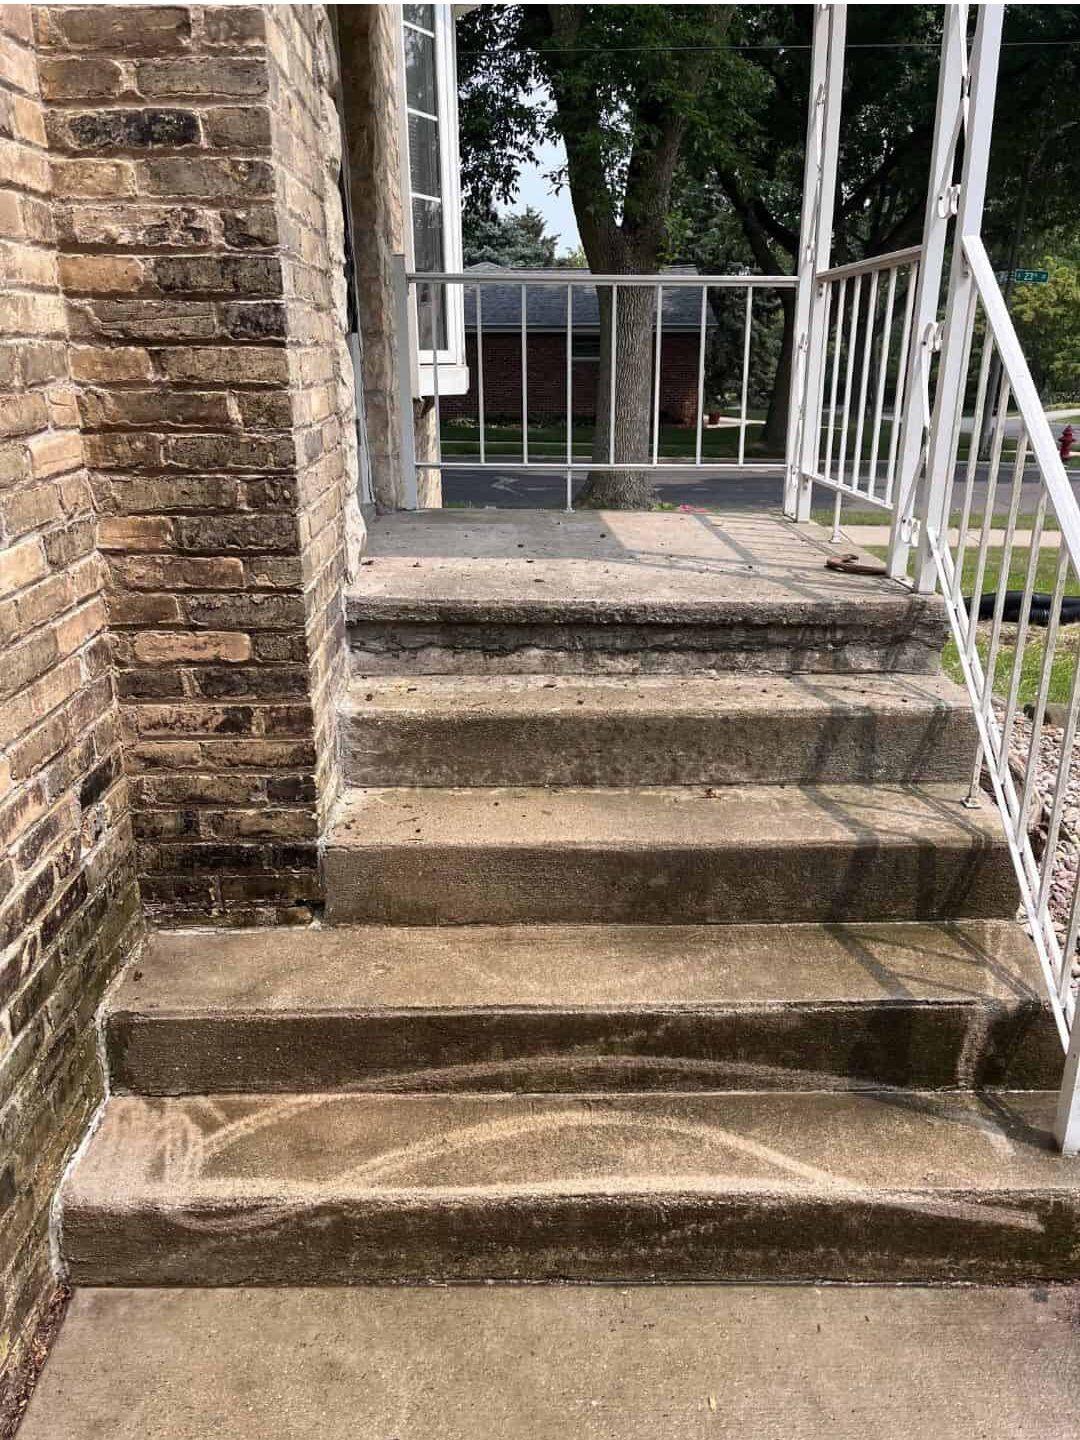
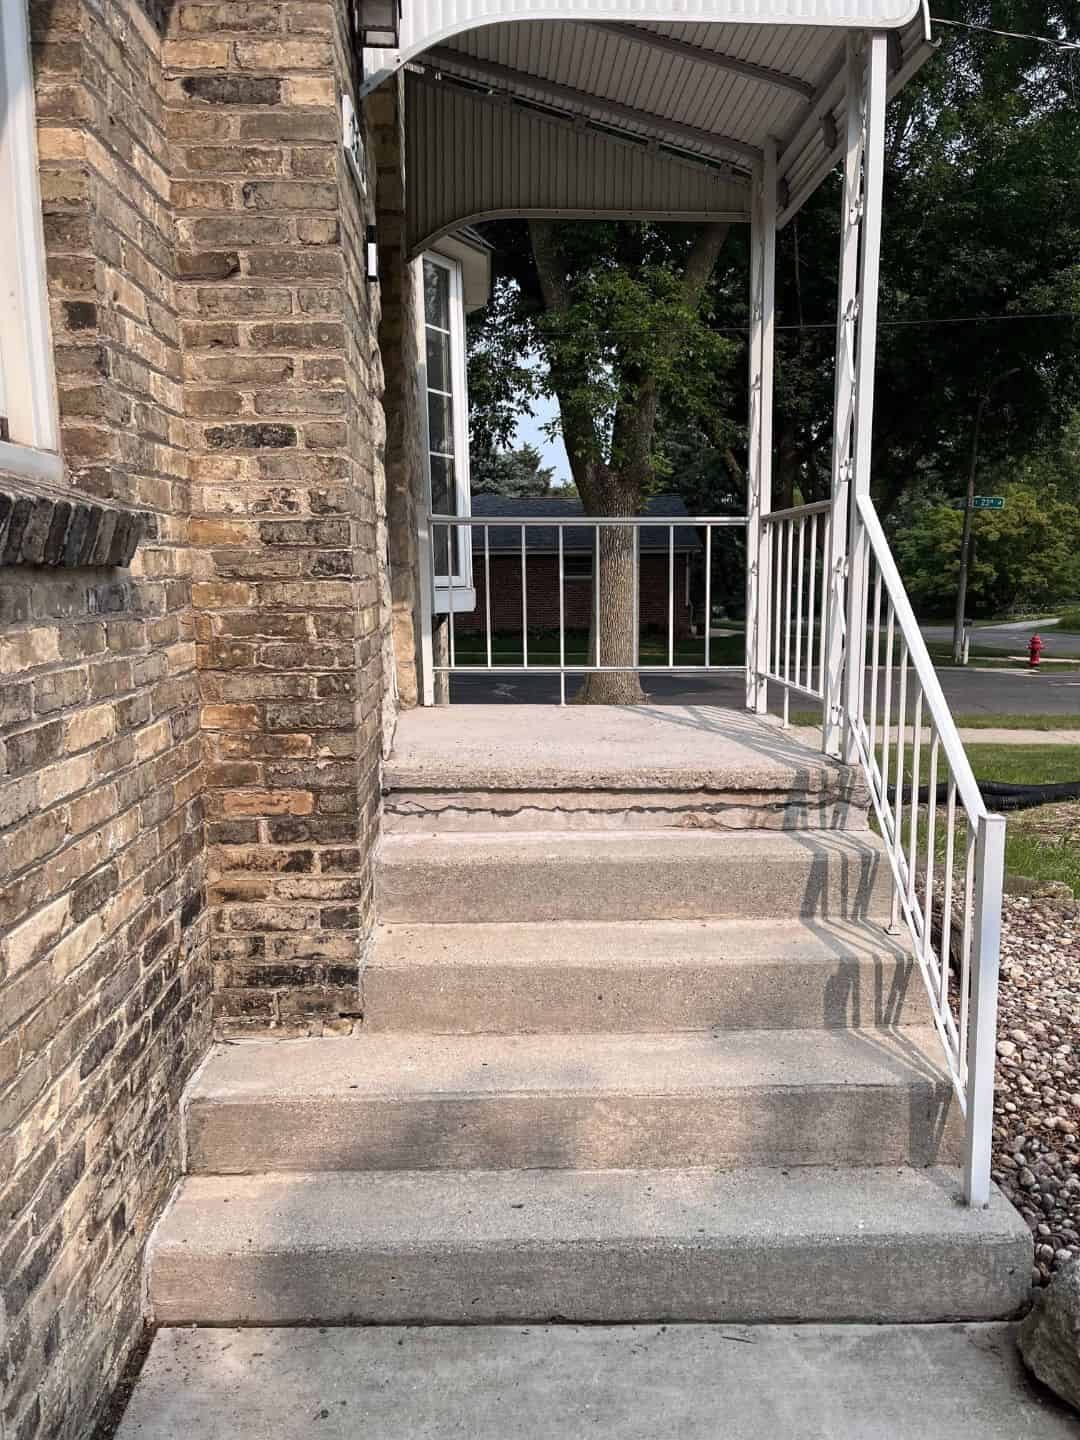
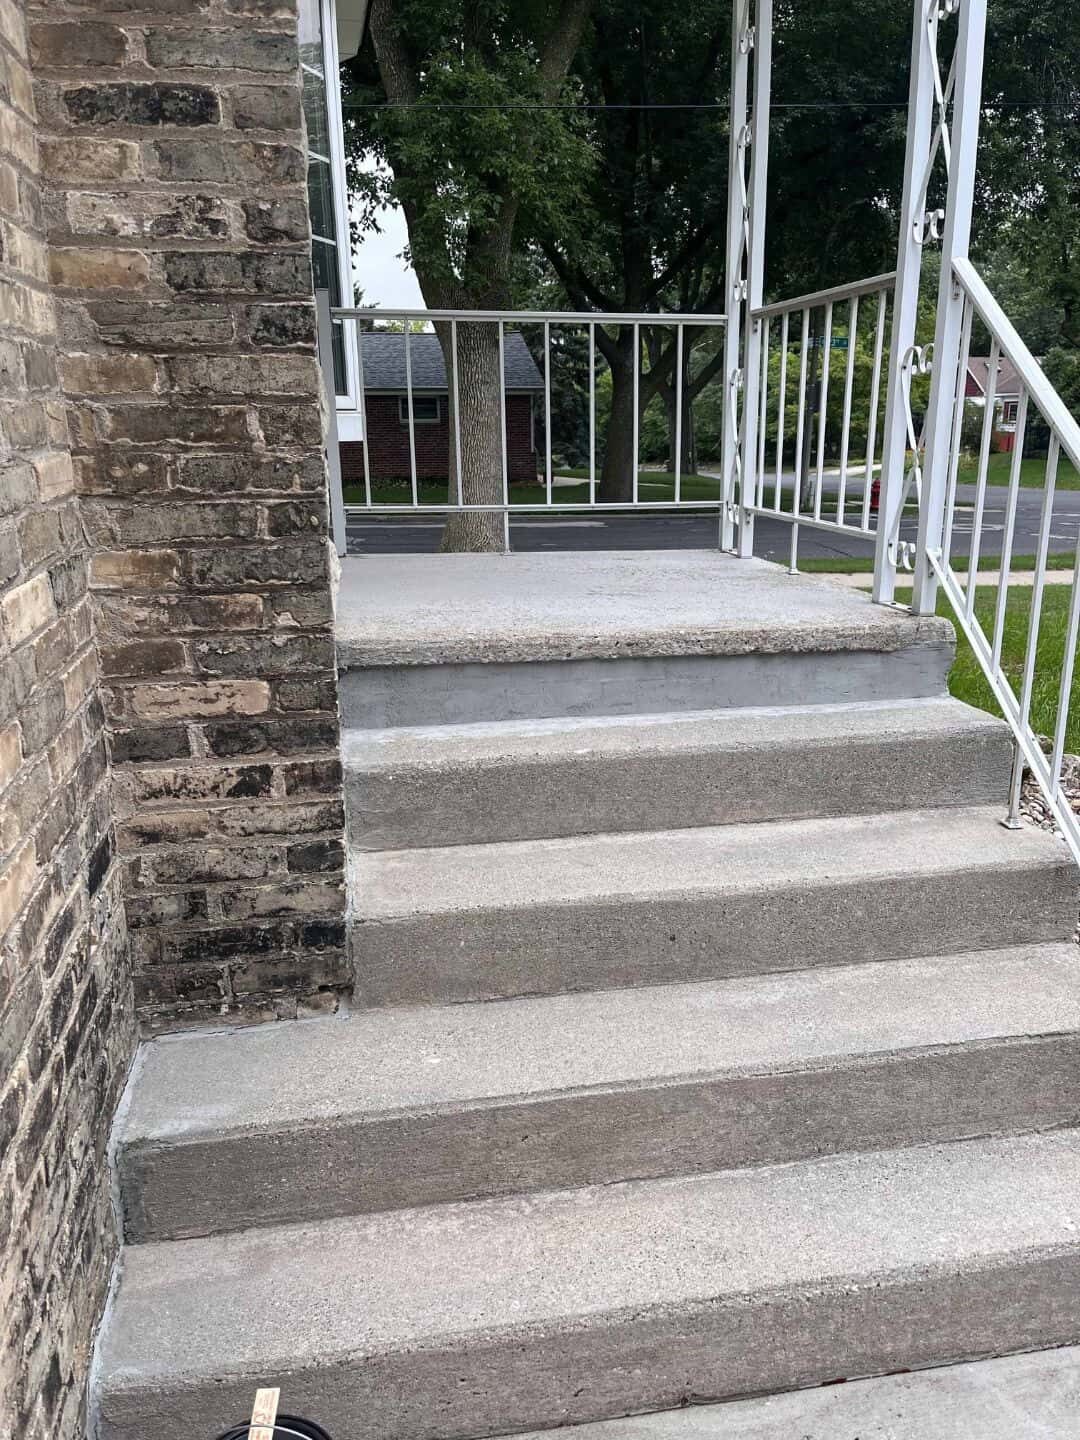
Step One: Pressure wash your porch
This is probably the most important step of everything!! If you want your paint to adhere correctly and for a long time, you’ll need to pressure wash your porch. If you’ve never used a pressure washer before, it is really pretty simple and there are lots of YouTube videos out there to help you 🙂 Additionally, Home Depot offers these to rent, so if you don’t own one you can always rent for cheap.
Below, in the picture on the left, I did one line of pressure washing so you can see the major difference it has. There was so much grime!! In the middle picture, I have it completely cleaned, and you can see the giant crack in the top step. I used Quikrete to patch the crack, and the result is the last picture!
Also, if you learn visually, I attached my YouTube clip of the complete process at the end of this post😊
Step two: roll stain on your porch
Enter where the fun starts happening! Grab a paint tray and pour your paint stain in, use a roller meant for concrete and start rolling! I decided to do three coats of stain to give it the fullest look. It goes by quick and rolls on smooth, so it didn’t take too long to do three coats.
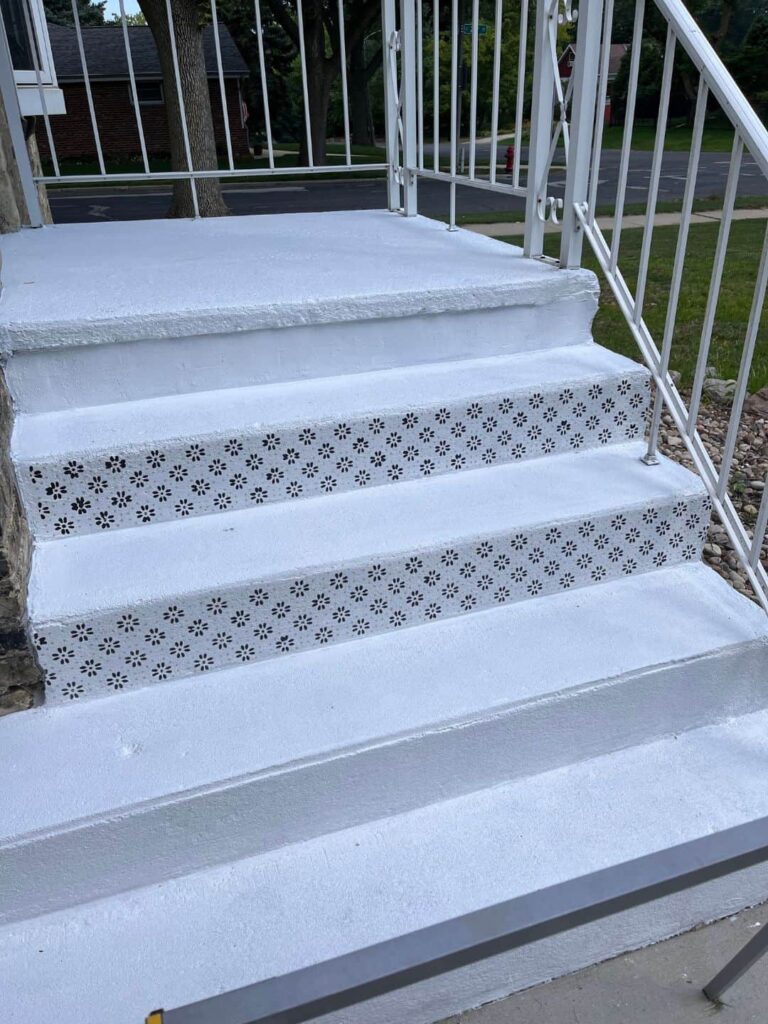
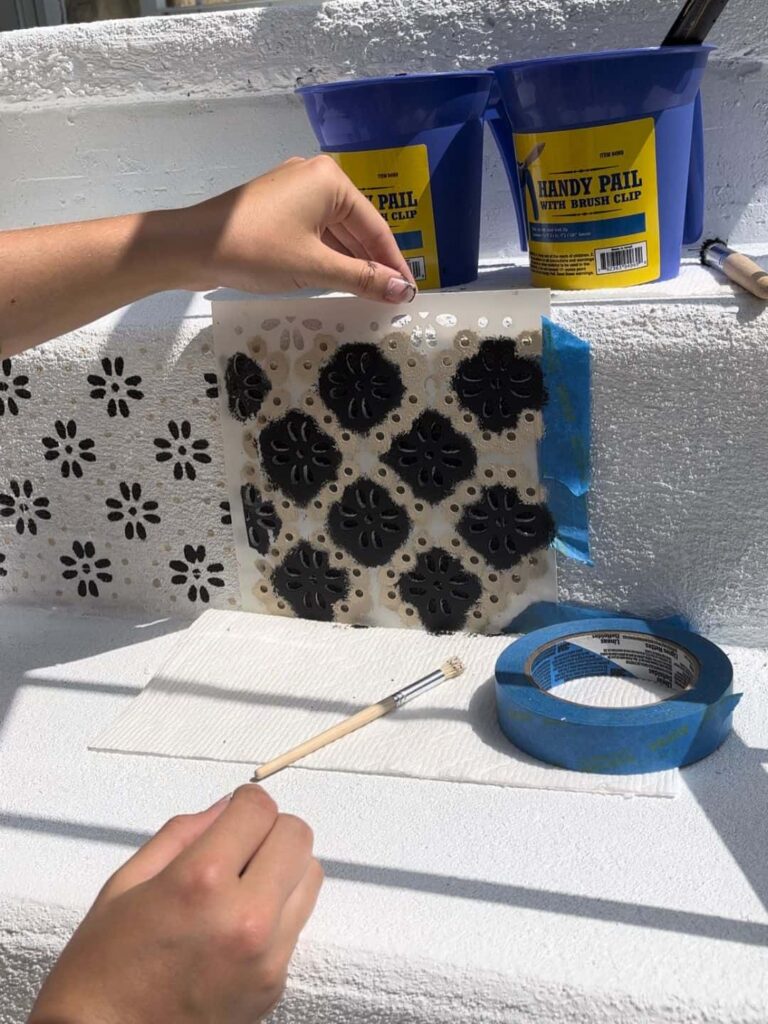
Step Three: Grab your stencil
After you have your base coats down and it has completely dried, it’s time to add in your stencil! I decided to do my stencil on the riser part of the stair because it get’s less traffic than the actual tread of the step and will hold up very nicely.
When doing the stencil, plan for this to be a couple days because it takes awhile and you want it to turn out nice! I used a Porch Paint for the stencil, and got two different colors (black and tan). It took me about 8 minutes per stencil pattern. I rotated through brushes and gently dabbed paint where I needed it. After each one, I completely wiped the stencil off with a wet rag. The stencil does still have paint that dries on it over time, but overall it keeps the stencil clean and your stairs neat. I’d recommend going top down for the stencils so you don’t accidentally get any clothing on the pattern while drying, or your shoe doesn’t scrape it. I did my top step last however because I wasn’t quite sure how I wanted to do it because as you can tell it has an uneven edge.
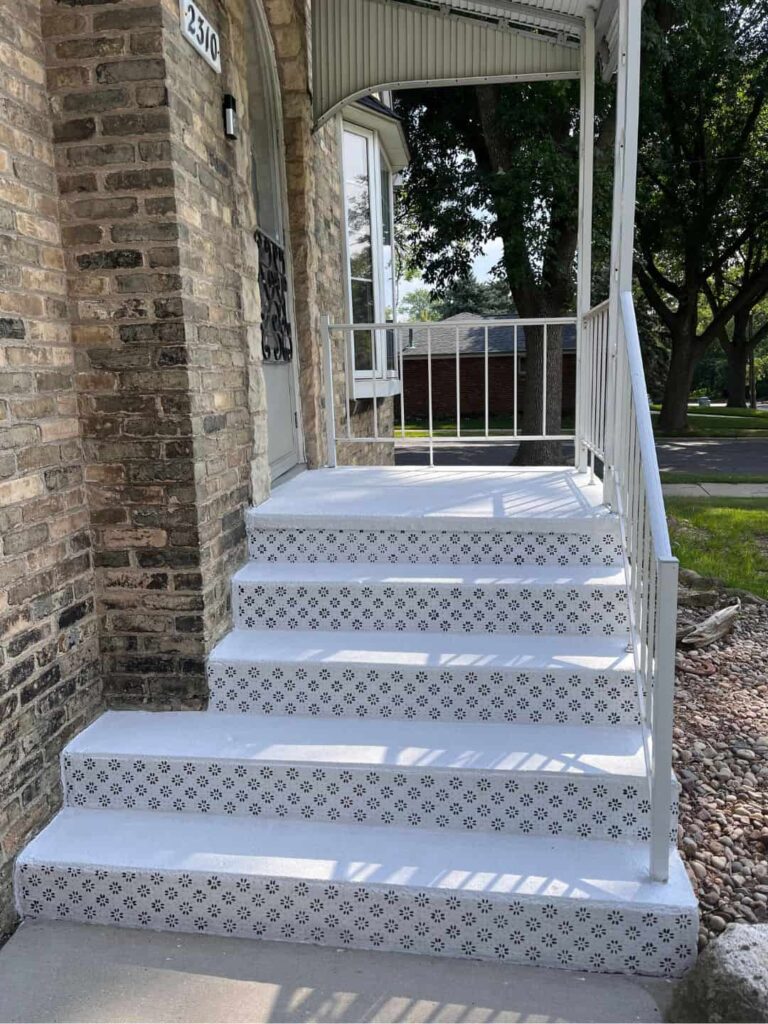
Step Four: Protection Coat
This step I’d highly suggest to help protect your porch from weather. My porch is withstanding the weather great and it’s been a year and a half. I got my protector from Home Depot, it is a very thin liquid so take your time applying as it’ll spray all over with your paint roller if you try and fly through it! I added a couple coats of this because it does go on nice and easy.
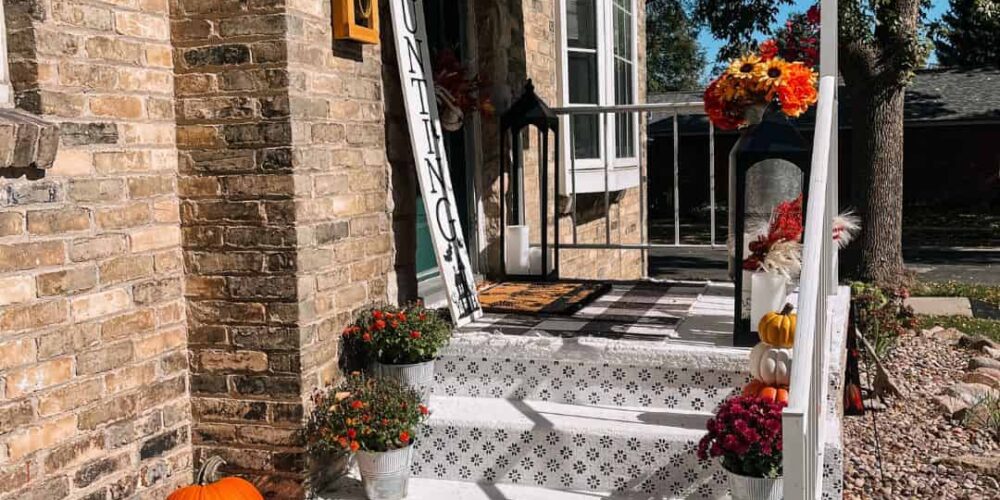
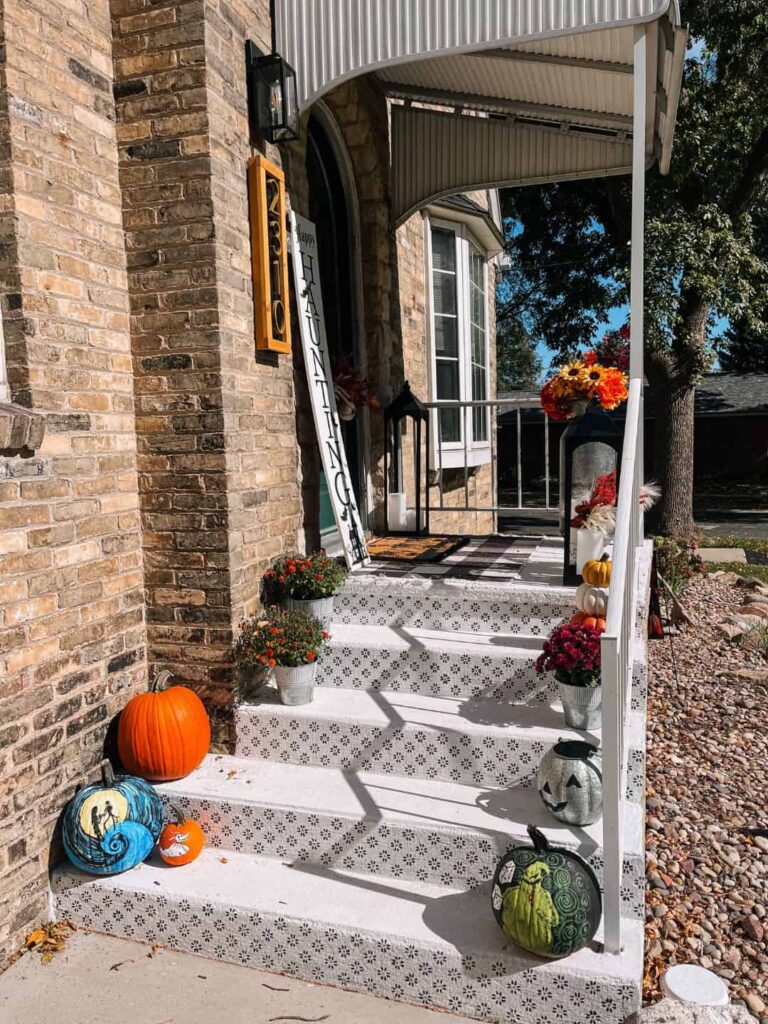
After you let that completely dry (says dry time on instructions), you can decorate!! The first picture is within the same month I painted the steps, the second photo is one year later 😊

List of items needed:
Concrete Stain – $36
Semi-rough paint roller $13 for a 3 pack
Porch and Patio Floor Paint – $37 x 2 (I got two different colors)
Stencil (if using one) – linking the one I used! – $8
Protector and Waterproofer – $35
Stencil brushes – $6
Total Price Breakdown: $172
Items I used, that you may or may not need:
- Pressure washer
- Quikrete