This site contains affiliate links, view disclaimer for more information
Have you wanted to do floating shelves, but not sure where to start?
Let me show you how I DIY’d my floating shelves, a price breakdown, links, and a video!
Price Breakdown
- Some items you may already own, but here is everything you’ll need 🙂
- Brackets (4-pack, 7.25″ = $15.95)
- Lint-free rags for wiping excess stain (7pack = $9.98)
- Foam Brushes for applying stain (20pack = $8.99)
- Latex Gloves (100pack = $9.99)
- Polycrylic Topcoat (8oz, Clear Satin = $12.98)
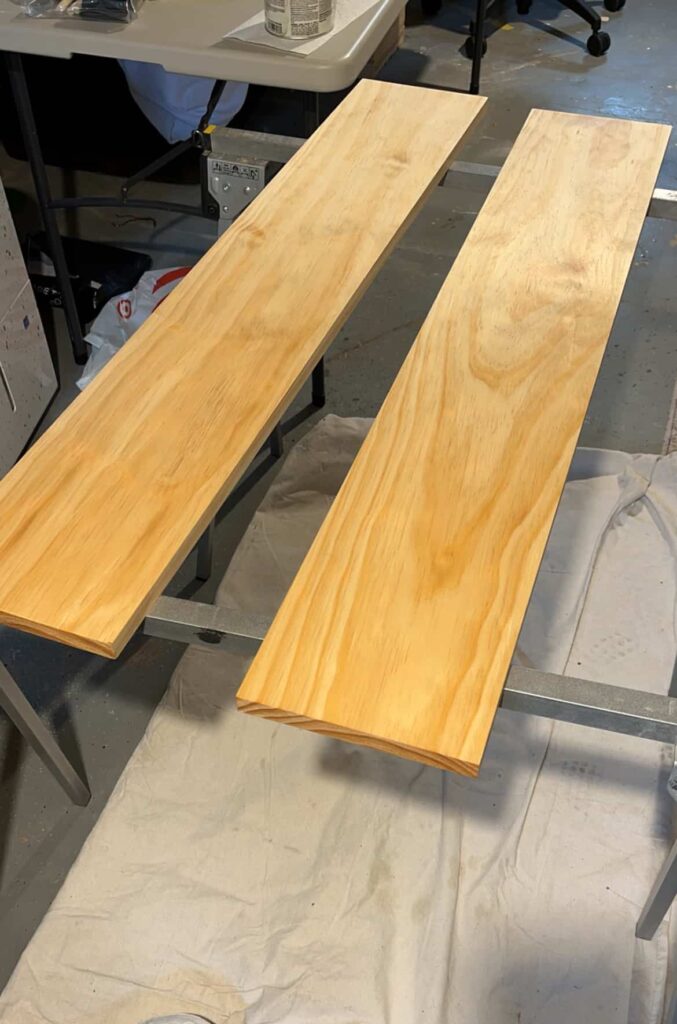
- 1″x8″x8ft Select Pine Board (1 board = $25.92, cut into two 40″ pieces with a little leftover!)
- Pre-Stain Conditioner (8oz = $9.98)
- Dark Walnut Stain (8oz = $7.98)
- (Shop from my LTK)
Grand Total = $101.71
You may have most of these items already – So the total would only be about $42 for the brackets and wood!
How to make your floating shelves:
Floating shelves can be so easy to put together, and in a quick amount of time – let’s get right into it!
Before I begin, everything is linked above in the price breakdown, as well as in my LTK (disclaimer: these are affiliate links). To get started, you’ll want to measure your space and customized it to your own area and then decide if you’ll want to do longer boards – and if so, you may need more brackets, just keep that in mind!
I got the shorter style brackets, because I like how they blend in more than some of the larger brackets. The brackets come with everything you need to hang them up – screws and anchors. Once you have all of your materials, you will want to measure exactly where you want the boards at on your wall (pro tip: measure from the ceiling down, because floors are not always level!!). After you measured and marked where you want the boards, make note of where you want the brackets in relation to the board (I put mine inwards a bit so there would be about 3inches of overhang on each side). Mark the holes where your brackets will be, and grab your power drill! Now, you will want to make your pilot holes for the anchors – tip: make the pilot hole a tad smaller than the anchor for a snug fit.
After you made the pilot holes, you’ll put in the drywall anchors by using a hammer to tap it into the hole. This can take a couple tries, sometimes the anchors bend and get wonky, but if each anchor is getting wonky, you may need to make the pilot hole a little larger. This can be simply done by grabbing your power drill with the same drill bit and inserting it into your pre-existing hole, then just drill within the hole to make it a little bit wider.
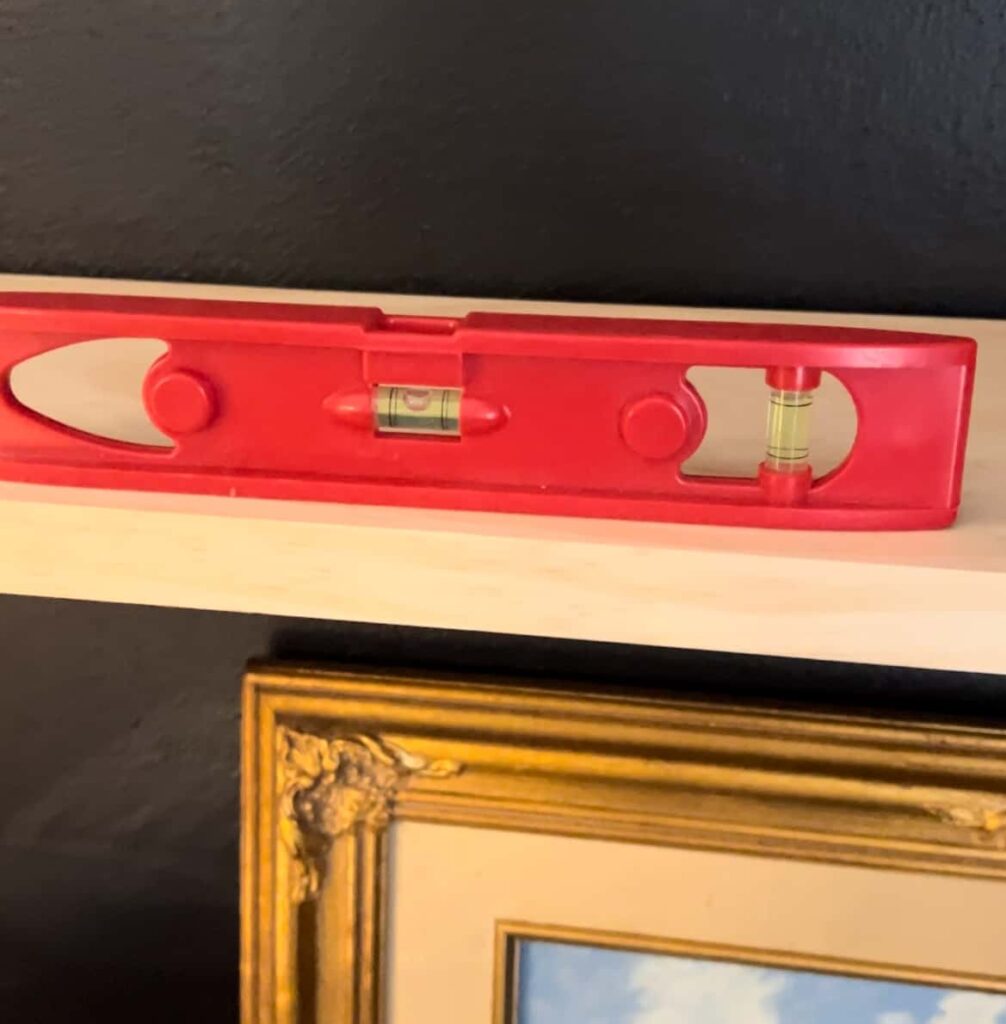
Next, make sure your boards are level! This is a very important step as you want your shelves to look even with one another. After you determined the boards are level, and the placement is all set, then we can move onto the fun part! Staining the wood 🙂
When staining any wood, you typically want to go in with a pre-stain or wood conditioner. This helps prep the wood, and allows for a more even finish. In the picture below, this is what it looks like after the pre-stain is applied – I used a foam brush (you can see more details in the video at the end of this post!). You’ll want to throw on your latex gloves when applying stain, and if you aren’t in a well ventilated area – I highly recommend wearing a face mask!
After applying your pre-stain, read the directions and wait the allotted time before applying your stain. Once that time has passed, you’ll grab your stain, foam brush, gloves, and face mask. The stain is very strong smelling, so I highly recommend a face mask! When putting the stain onto the wood, a little goes a long way – and make sure to brush with the grain 🙂 Depending on how dark or light you want your wood, you can apply more or less. If you want a richer stain color, leave the stain on the wood without wiping the excess off for 3-5minutes or so.
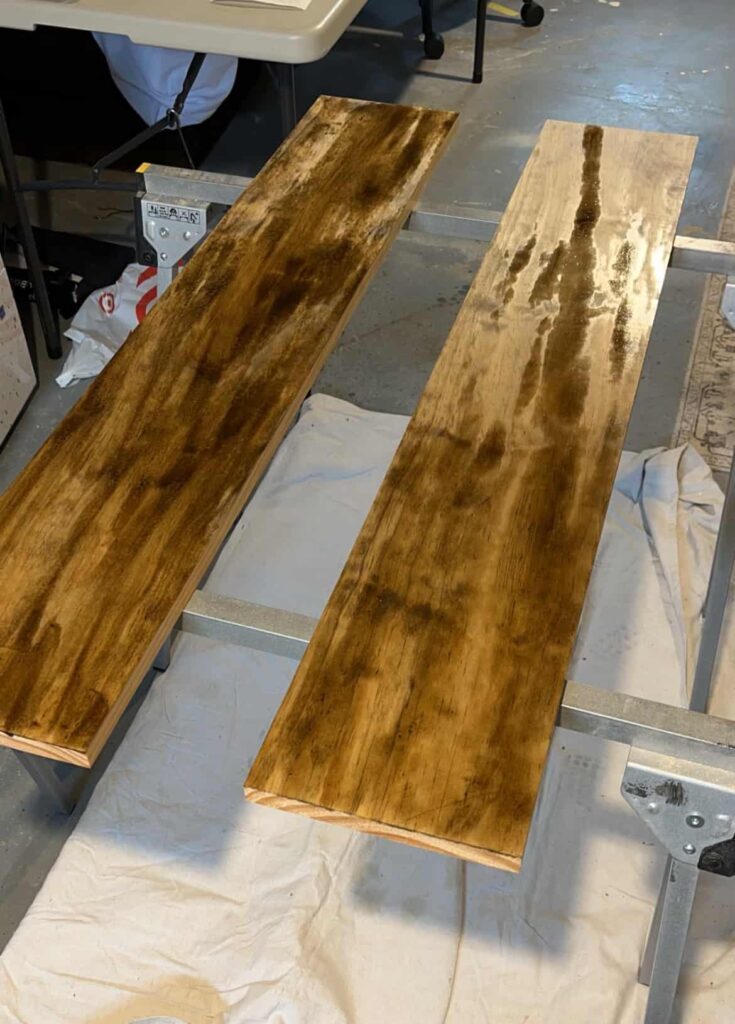
Again, follow the allotted time on your stain of choice for waiting between coats. I ended up doing 3 coats on these of the Dark Walnut Stain! After finishing the stain, I top it off with a top-coat. I used Polycrylic and just brushed on one coat around the whole thing!
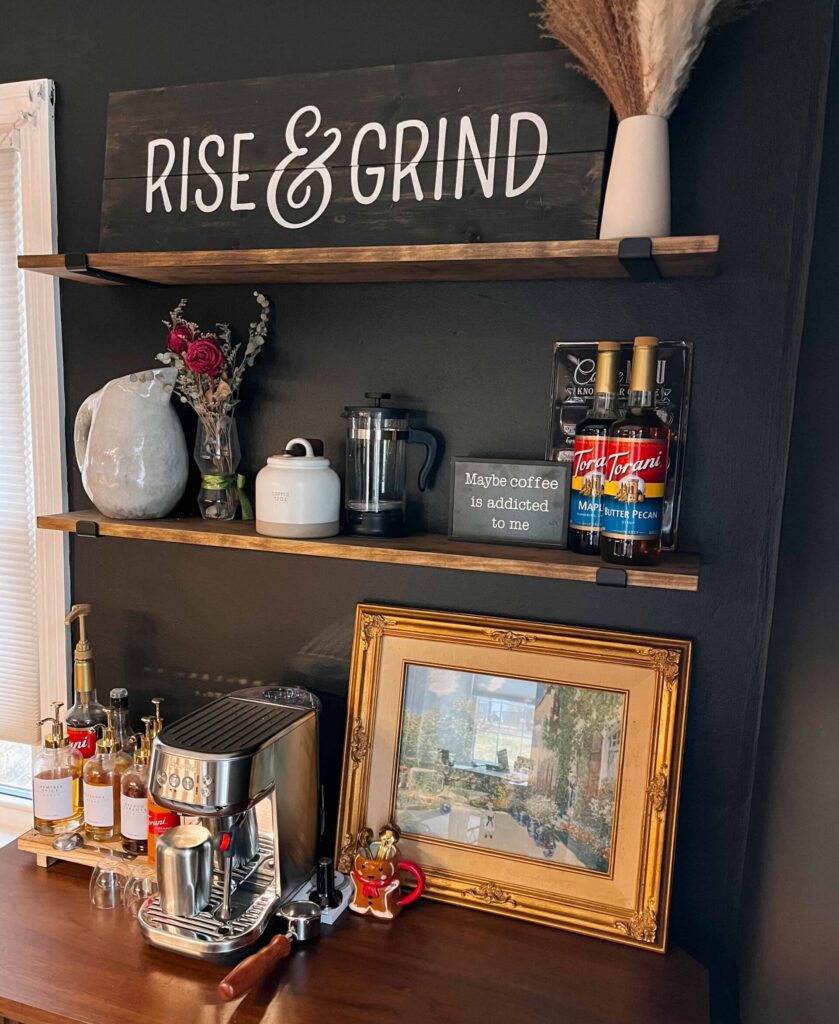
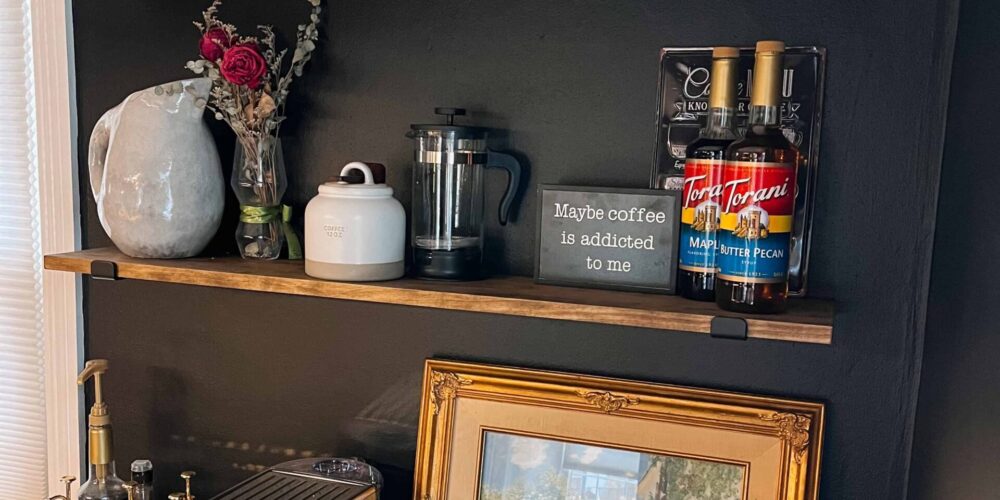
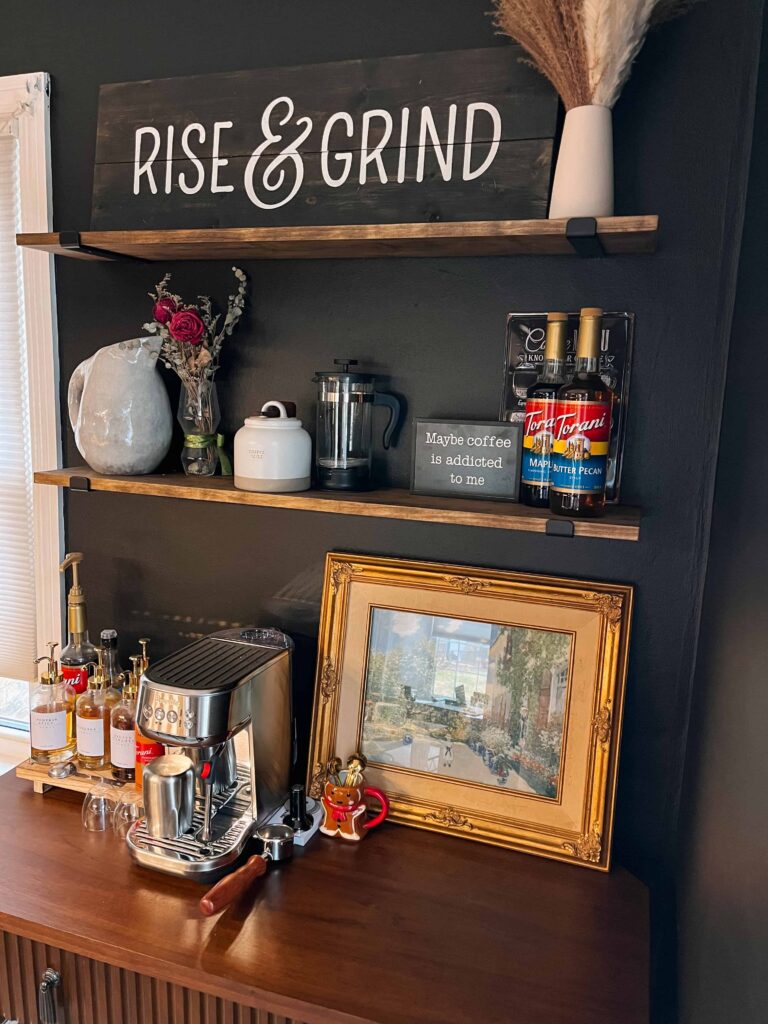
When you complete all those steps, let it dry overnight, and then hang it up on your brackets and you are ready to decorate! See my other post for how to style your shelves! (How to Style your Coffee Bar) Let me know if you have any questions!
Watch my how to on TikTok: https://www.tiktok.com/t/ZT8twGmLR/