Follow along to see how I built my DIY firepit in my backyard! PLUS, it can be converted into an outdoor movie space!
This site contains affiliate links, view disclaimer for more information
This is my favorite DIY project to date! It was fun building, and it really wasn’t all that difficult. I was able to do most of these tasks myself (with a little help here and there from my hubby and family). After it’s all done too, it makes for the best backyard oasis – I couldn’t be happier with it! In this blog post, I’ll go over what materials I used, the cost, and the steps I took to build my dream fire pit!
Below are a list of all the materials I used, along with the prices.
Necessary items:
- (100ish) Pewter Concrete Retaining Wall Block – $1.86ea ($186 total) *Highly recommend checking Facebook Marketplace for cheaper or free ones!*
- (40ish) Pewter Concrete Wall Caps – $2.98ea ($119.20 total)
- Bricks for fireplace – I got mine for free (again, check FB marketplace!) 🙂 but to do something similar –
- (48) 3-1/2 x 7 Tan Tumbled Belgian Wedge Wall Block – $1.59ea ($76.32 total)
- (48) 3-1/2 x 1-3/4 Quarry Gray Tumbled Small Belgian Wall Block – .86cents ($41.28total)
- (3) Premium Adhesive Loctite – $7.28ea ($21.84 total)
- (6-10) Concrete Mix, 60lbs, 6-10 bags (depending on holes and post size) – $3.17ea ($19.02)
- (2) 2x8x12ft Prime Cedar-Tone Pine Lumber – $17,38ea ($34.76 total)
- (2) 2x4x8ft Prime Cedar-Tone Pine Lumber – $5.98ea ($11.96 total)
- (2) 4x4x8ft or 10ft posts pressure treated – $10.78ea ($21.56 total)
- (1) Weed Block Barrier, 4x100ft – $36.98
- (2) Garden Staples, 25pck -$6.98ea ($13.96)
- (1) Fire Ring, 36″ – $62.93
- 1 Yard of Pea gravel, delivered – $97.05 *Buy from a local store vs bags from Home Depot – SO MUCH CHEAPER!
- Exterior wood Screws (2-3.5in) I used a couple different sizes – $8.97ea box
- (1) L Brackets Stainless Steel – $6.98
Total Cost Breakdown ≈ $769
Hiring someone to do this job, you’re probably looking at around $2-$3k, maybe even more depending on your location!
Tools / Equipment (you may or may not need to buy – you may already own them):
- Power Drill
- Circular Saw (or preferred saw for cutting concrete caps)
- Avanti Diamond Blade (7″) – $18.97
- Paint Roller
- Miter Saw or Jigsaw – whatever you have on hand 🙂
- Post Hole Digger
Optional items:
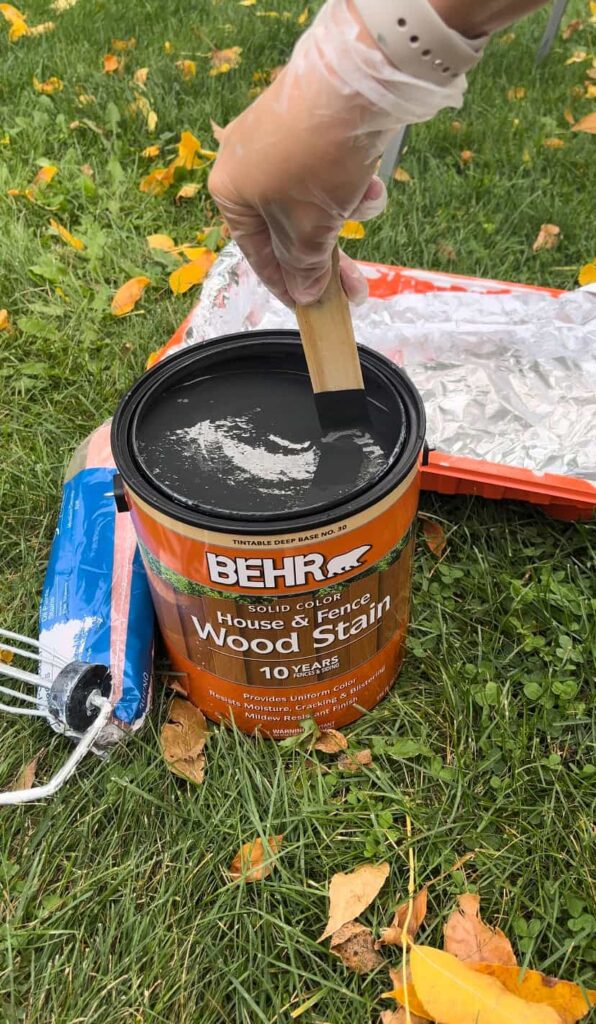
- Behr Solid House and Fence Paint, black, 16oz
- High Heat Ultra Black spray paint, for fire ring
- Solar String Lights
- Solar Lanterns
- Landscaping and Mulch
- Adirondack Chairs
- Barrel Cooler
- Plastic Planters
- Projector and Sheet
- Metal Screw Eyes
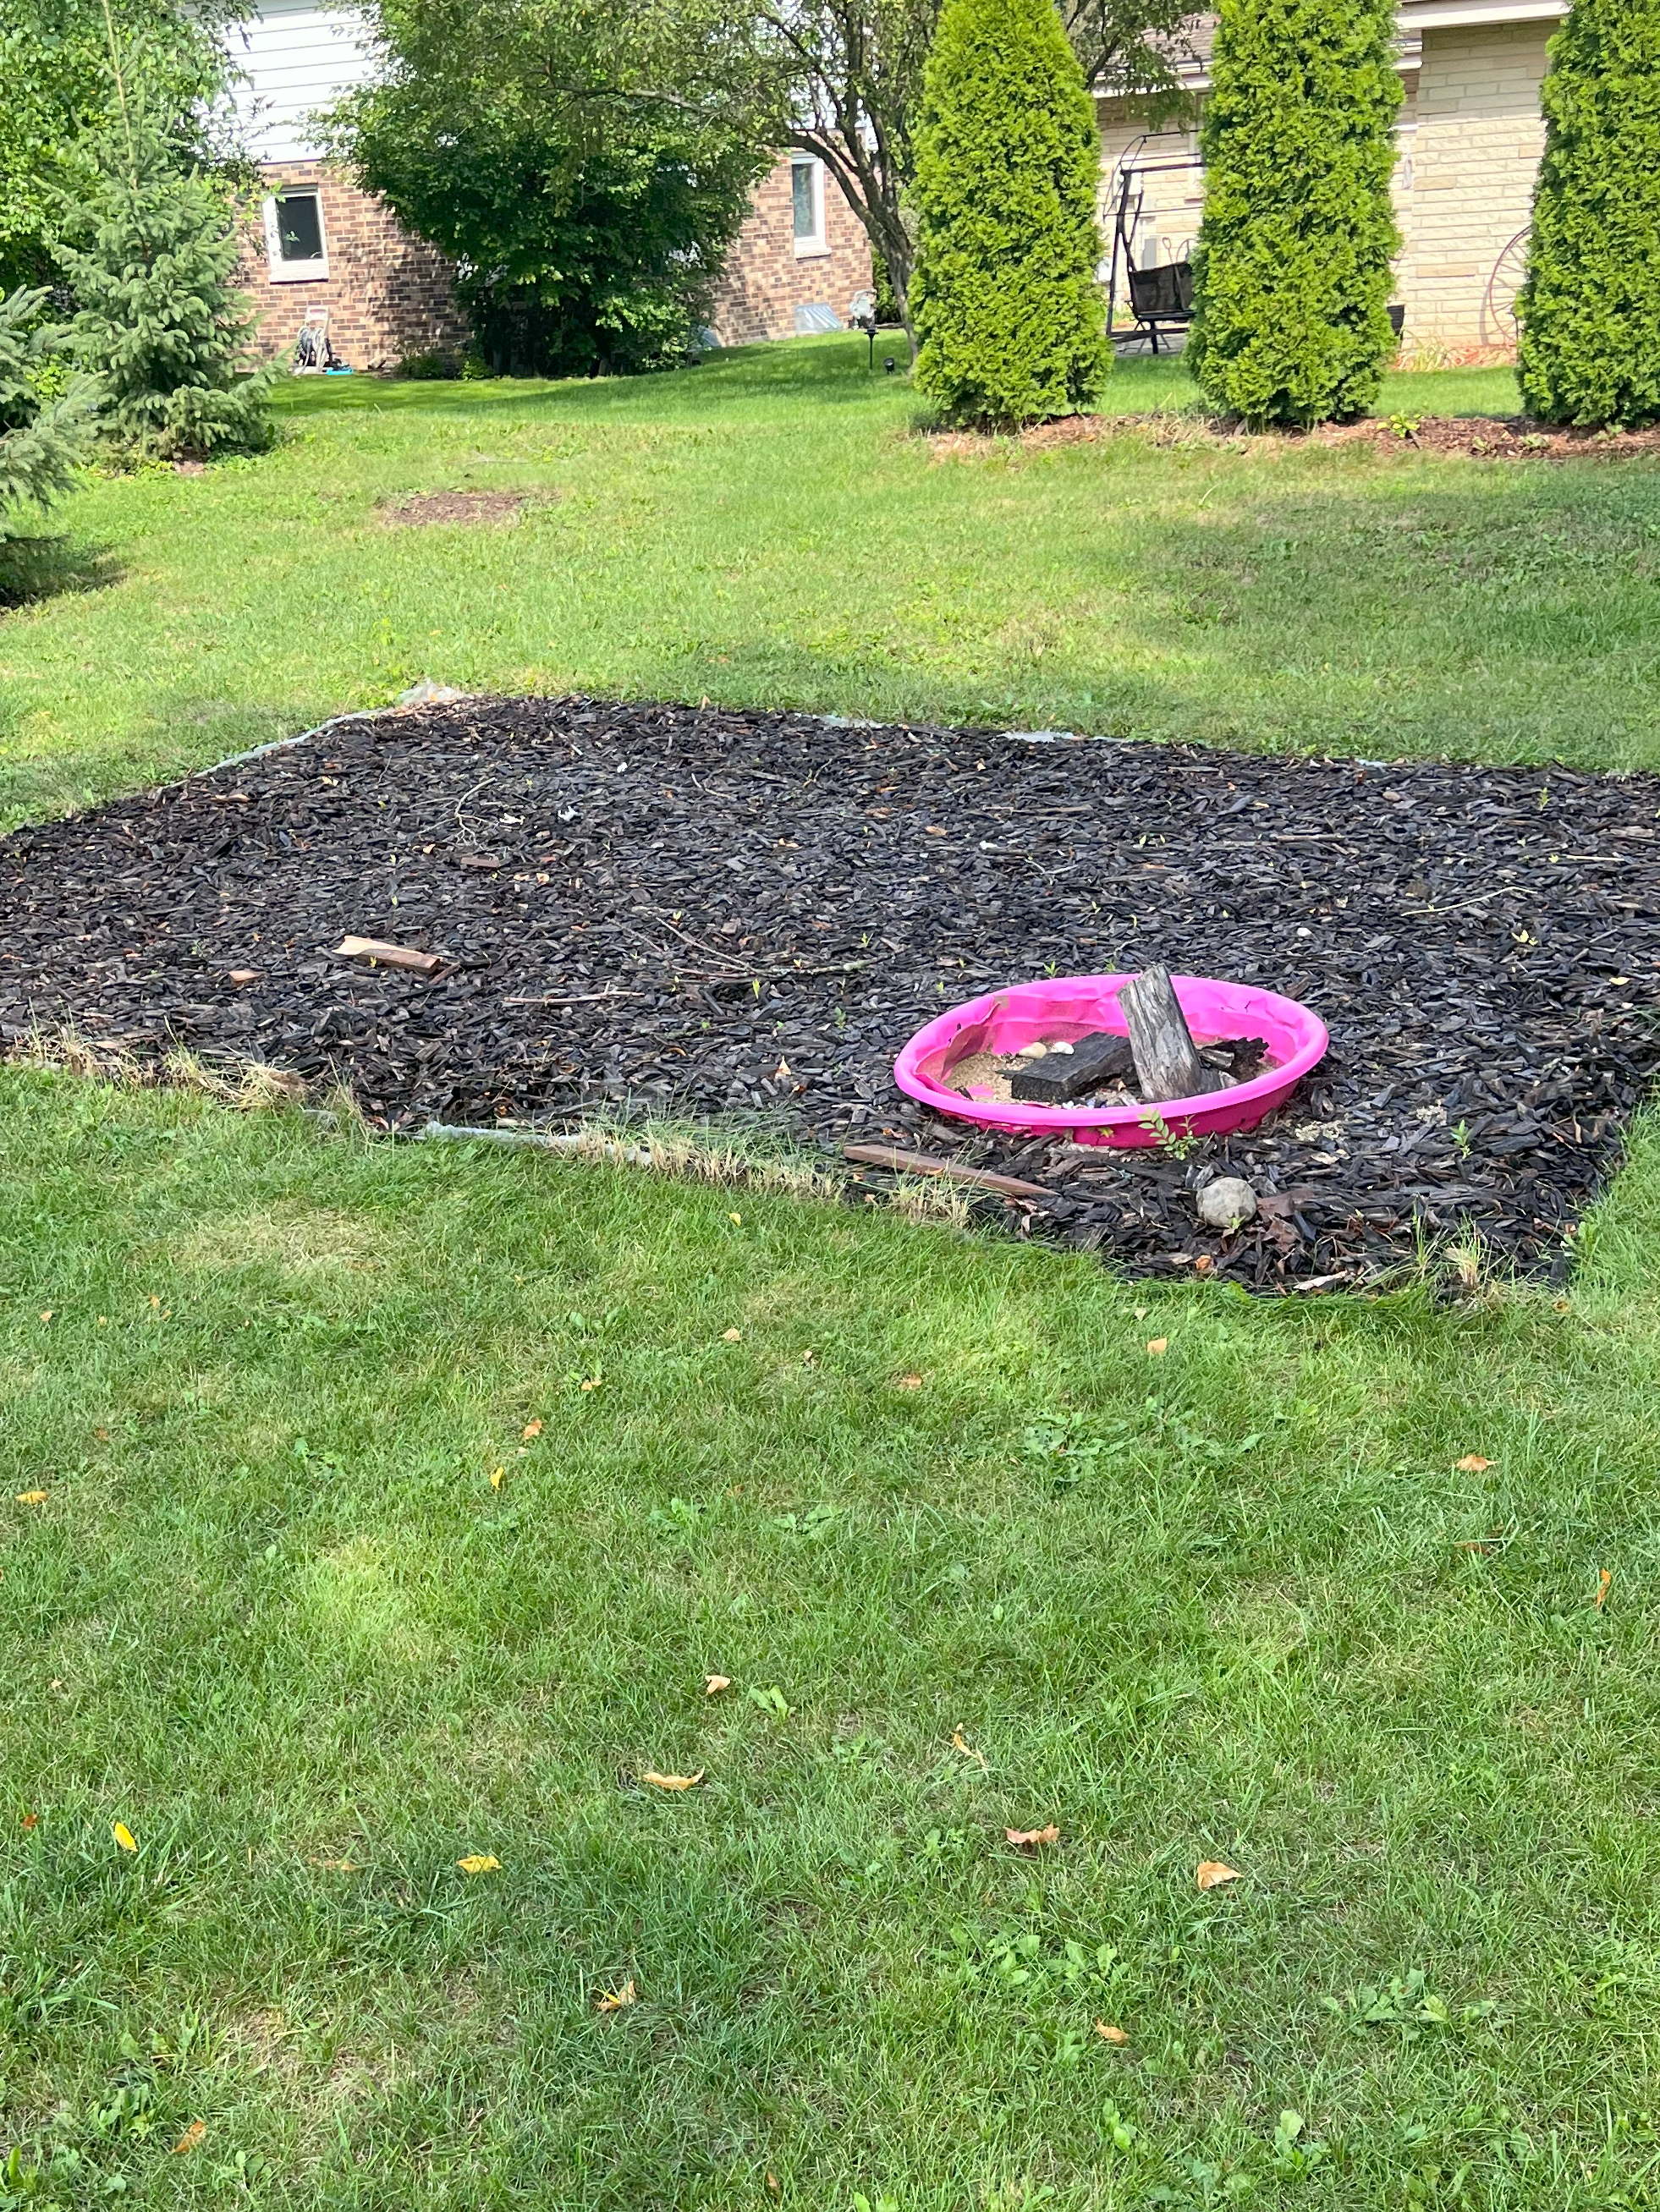
Here is the before:
Just to give you a little insight of what we were starting with – lots of woodchips!!
Where to Begin:
It may seem like a lot looking at the material list and wondering where to start, but trust me, once you get going it really isn’t too bad! I had zero experience with power tools in June 2023, and I built this in October 2023 – it doesn’t take long to get comfortable with power tools, you just need to start somewhere.
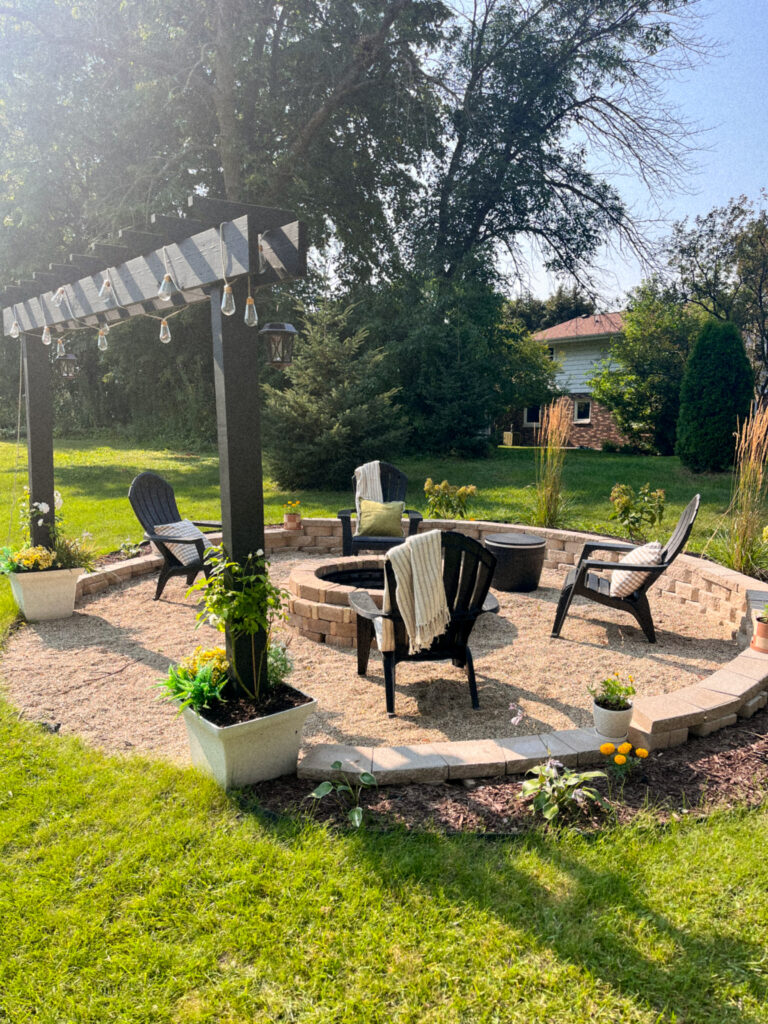
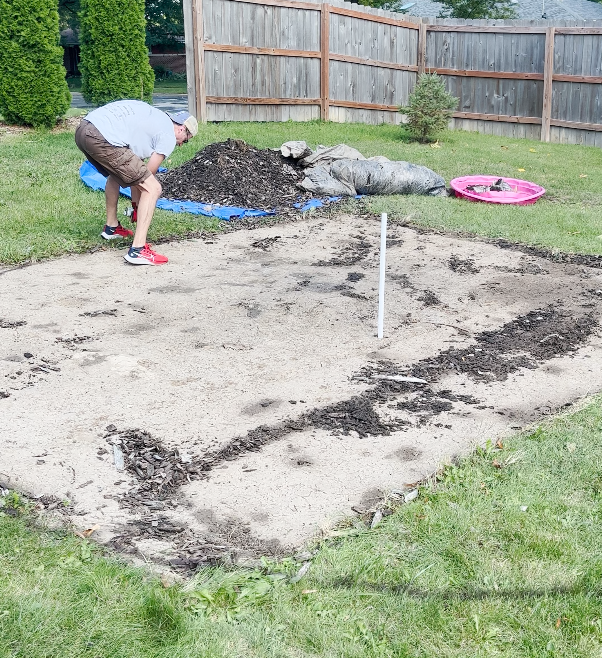
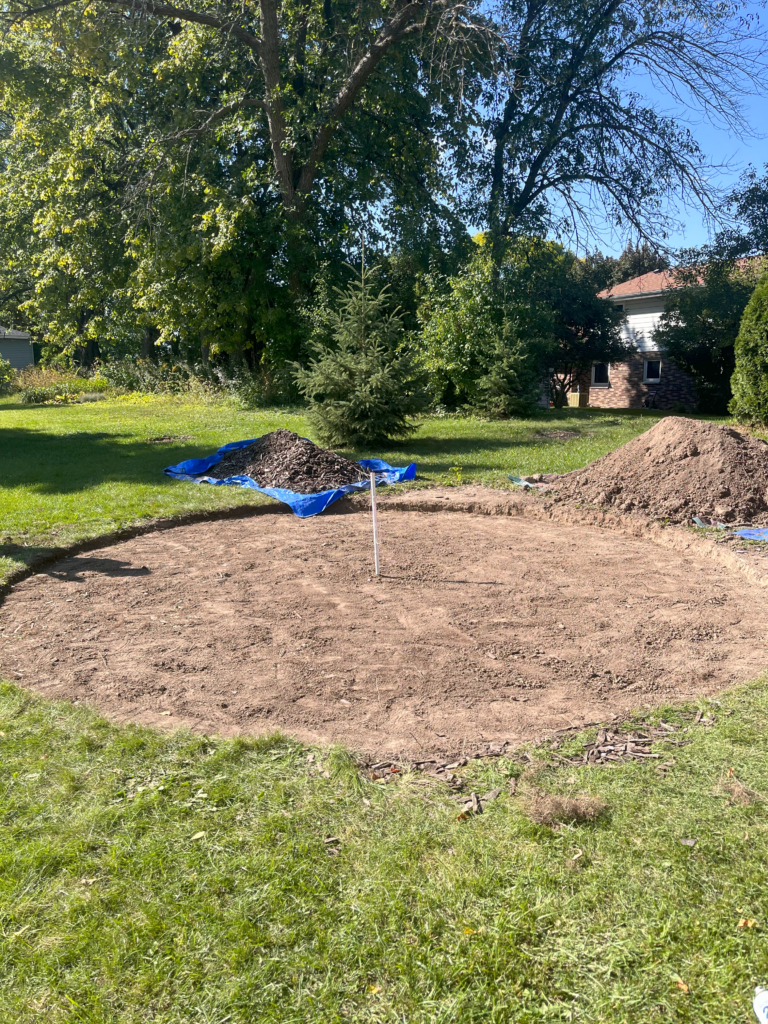
First, find the location of where you want your firepit to be located. I made ours 16ft in diameter to make it comfortable for seating. Once you nail down the location, you’ll want to draw a line in the grass with spray paint or something similar to help you mark out the diameter of your firepit. I used a pole to mark the center point of the circle, and then tied some garden string to the center point, and measured out 8ft. I then used that to spray paint the ground to mark the circle (since measuring from the center, make sure to use the half point of the diameter).
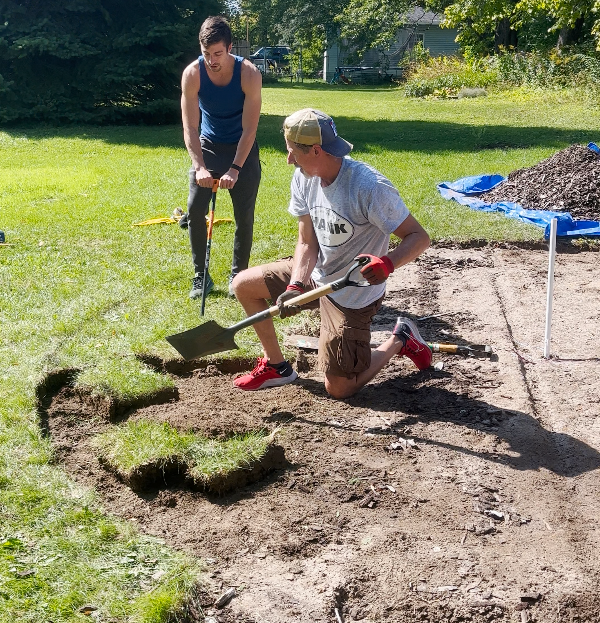
Once your area is drawn out, you’ll need to remove any grass within it. Our area had half woodchips and half grass, so we removed all of that. You can remove the grass with a shovel, or there are specific tools as well. Once the space is down to just dirt, you’ll want to level out the ground. If you decide to make yours similar to mine, you’ll need to dig the area down a bit more so the bricks sit inside the circle. For example, if you want to stack 3 rows of bricks, then you’ll want to dig at least ‘2 stacked bricks’ deep if you plan to have some landscaping around the outside. If you don’t do landscaping along the outside, I’d recommend doing the backside the height of 3 stacked bricks so it creates a very elevated and professional look (this is where I had family help with the digging!!!). After digging out the depth, you’ll want to confirm everything is level yet again. This is most definitely the longest part of the process – once this is done, the rest is a breeze!!
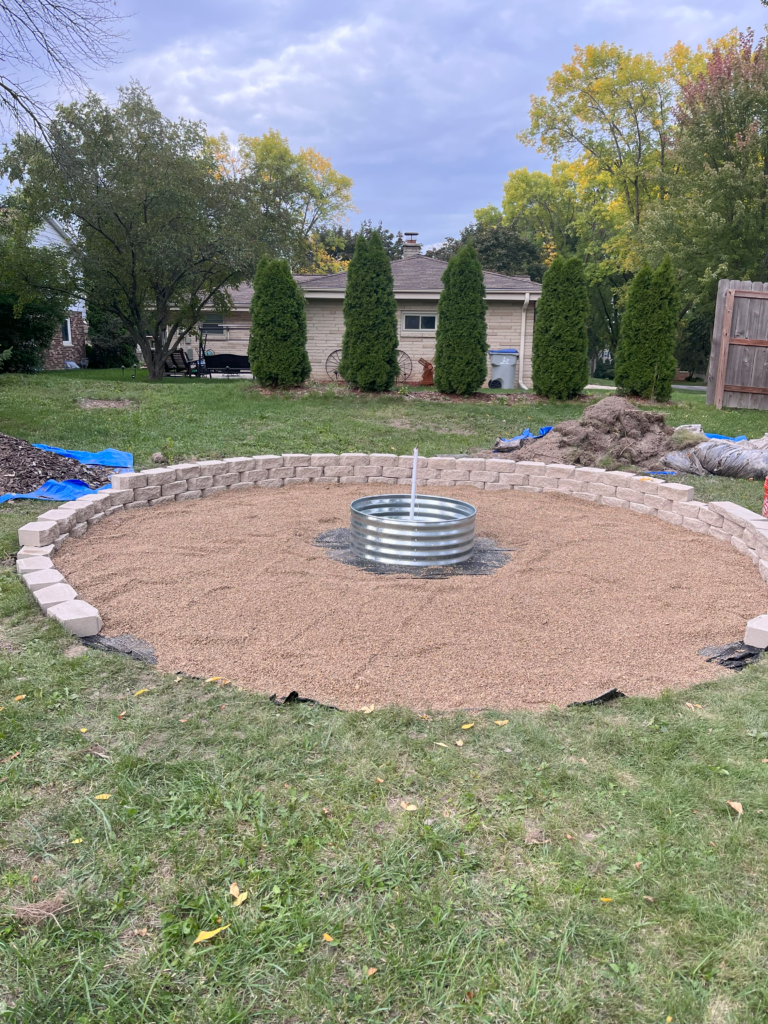
Next Steps – Retaining Wall Blocks, and Pea Gravel:
Once you finish the process above, you’ll add landscaping fabric to the entire fire pit area. You will need this to ensure no weeds come up through your pea gravel. Secure the fabric down with the staples. Next, you can start setting out your retaining wall blocks along the outer edge, and marking where you would like your posts for the 2 post pergola. We placed our 4×4 posts about 10ft apart – and just marked the spot with an X for the moment.

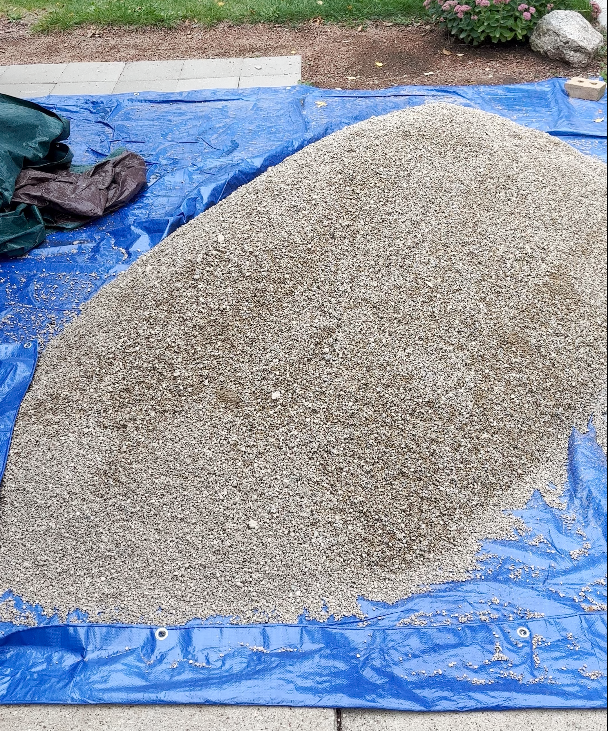
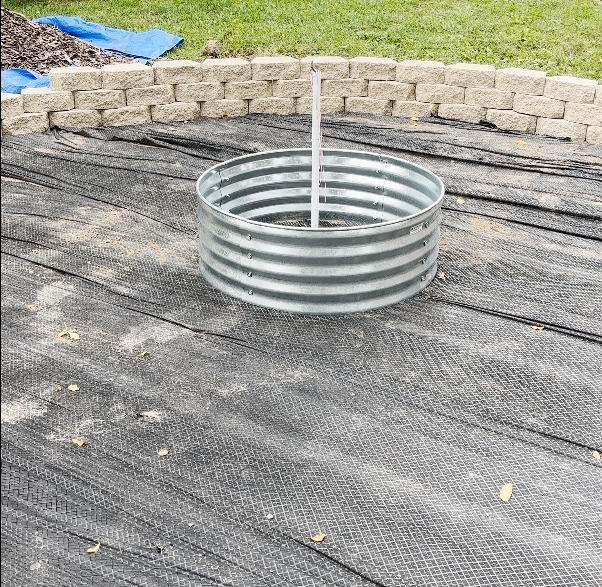
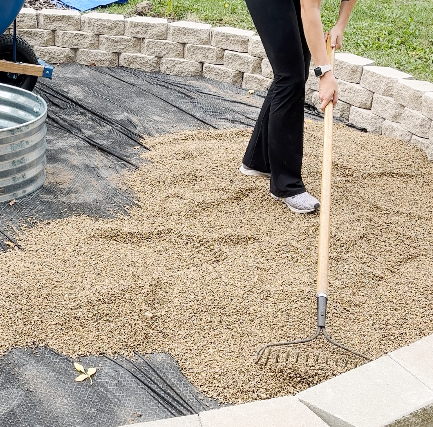
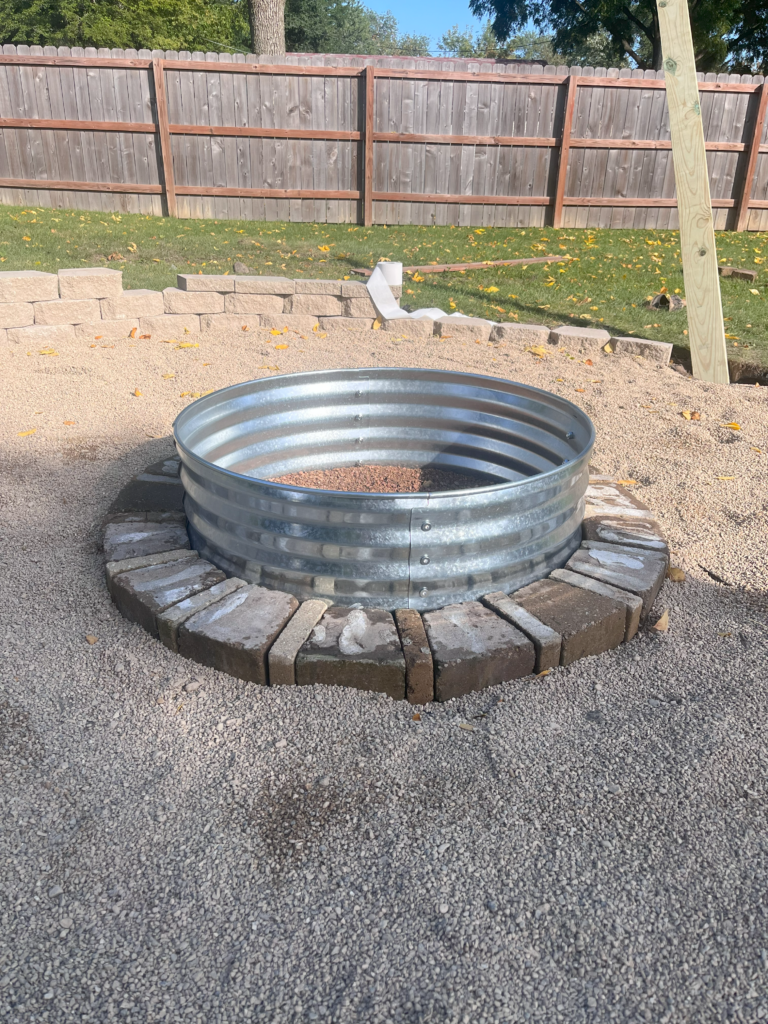
After you lay out the first row of bricks you’ll get an idea if the layout is correct, and if you need to adjust spacing of the posts. Additionally, you’ll again want to check that all the bricks are laying level, and fix any that aren’t. After the first row of bricks are down, you can start with the second row (we did layered rows) – once you know the position is how you want it, then grab your Loctite construction adhesive and ‘glue’ the second row of bricks down onto the first row, and third onto the second row. Then you should be completed with the outer bricks 🙂 Next, I grabbed my 36″ fire ring and put it in the middle of the circle – mark the section and cut out the fabric in that section. Then the fun part, add your pea gravel! I left about 1.5-2ft of space around the fire ring, so when it comes time to put the bricks around the ring, I’m not moving all the gravel. I ordered my pea gravel from a local place and it was just under $100 to get 1 cubic yard delivered – so much cheaper than buying bags from Home Depot or Lowes. I used a metal rake to spread out the pea gravel all over.

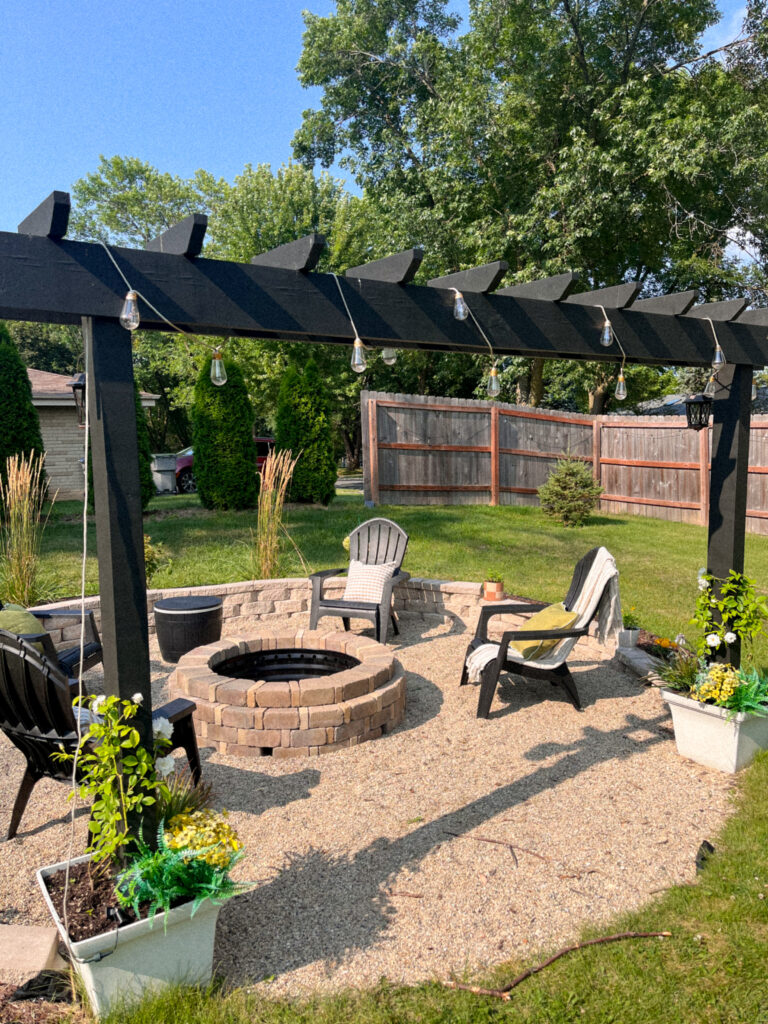
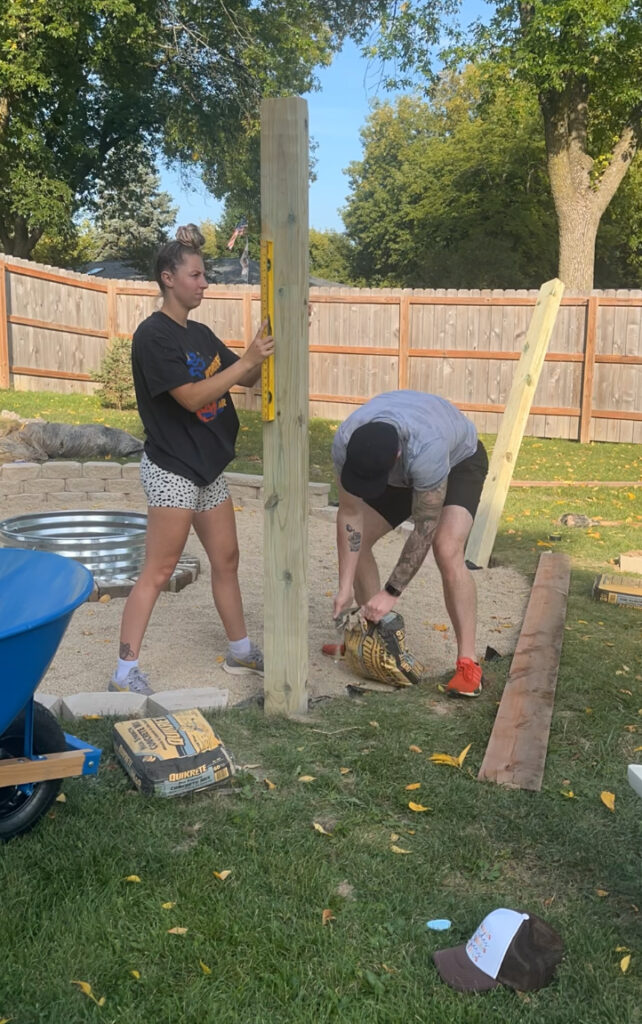
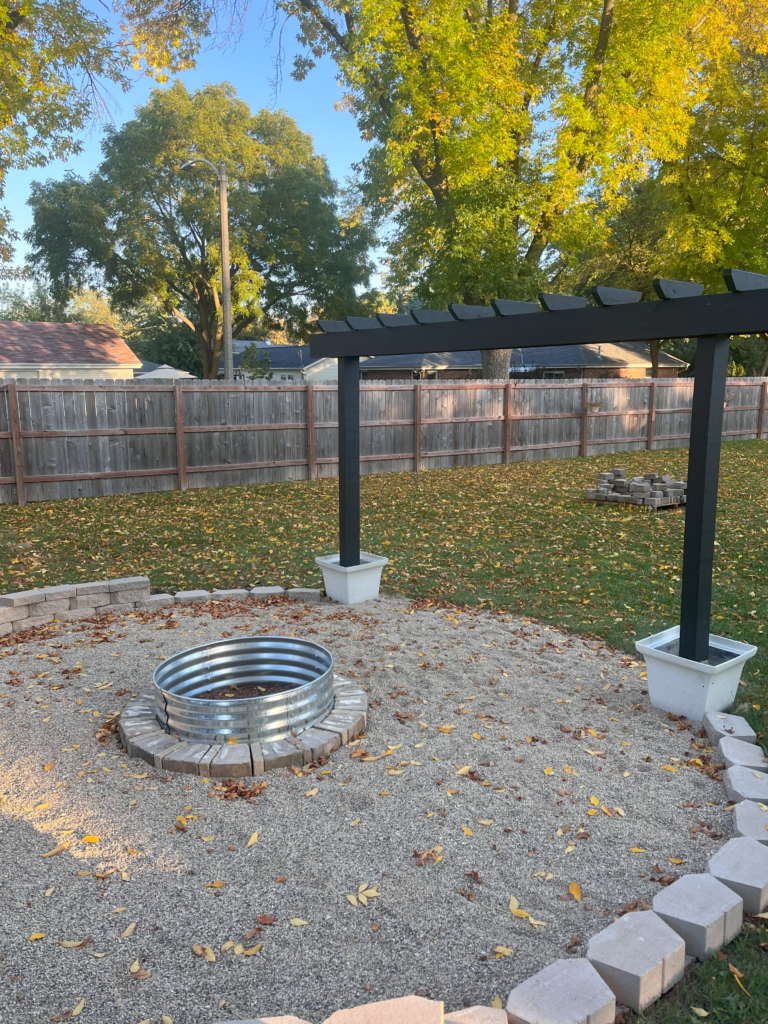
Now for the 2 post Pergola
After we spread out the pea gravel, we dug the holes for the posts – You’ll want to use your Post Hole digger to help you here. For us, we have very clay-like soil, so it is very difficult to dig through, I was able to dig 1ft before it became very difficult to get any further. Because of this, we got plastic planters (flexible and perfect through out the seasons) and cut out a hole in the bottom for the posts to go through. We then added concrete in the hole around the posts – using a level to make sure the posts stayed straight up the entire time (a two person job), and filled the planter half-way up with concrete to add more stabilization. This is also why we used the 8ft tall post, because we didn’t go as deep into the ground.
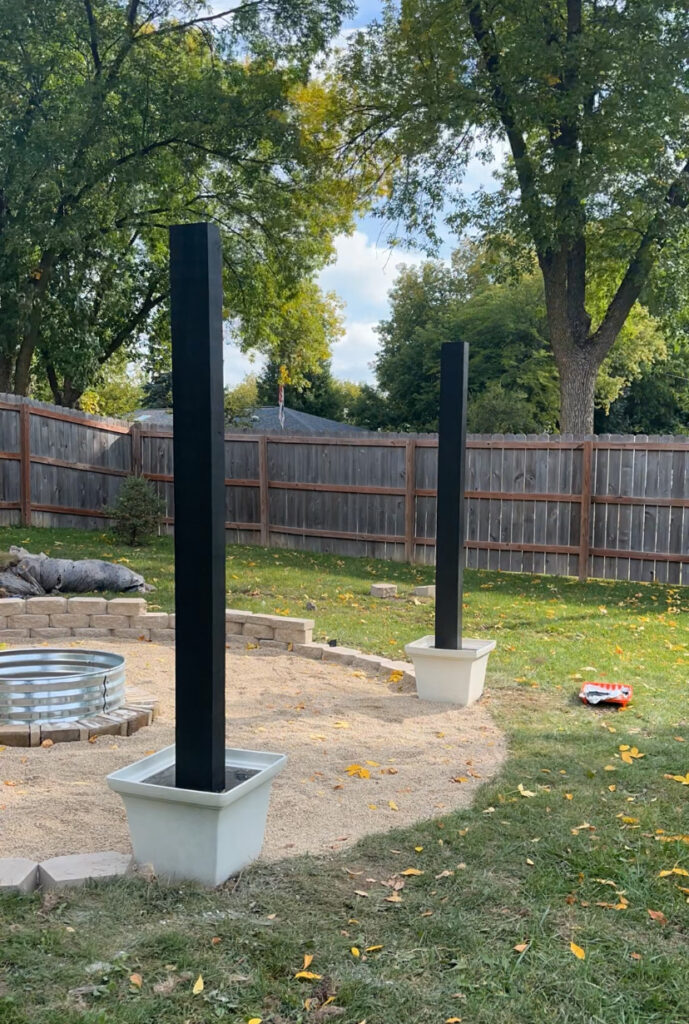
Once I put my 4×4 posts in the ground, I decided to paint them black, and painted all the other boards at the same time. After they dried from the paint, I used some wood screws (I’d recommend a 3-3.5″ screw) to screw in the 2x8x12ft boards. I placed them on the front and backside of the posts, creating a beam, and so they are flush at the top with the posts. I left around 1ft of overhang on each side (whatever makes it centered with your posts!). I used four screws on the left side and four screws on the right side, 8 screws per board – 16 total screws. Again, using a level!
Next up, cut your 2x4s for the pergola style top (you don’t need to do this part if you don’t care for the pergola style, but I personally really liked the look!). I cut my 2x4s to 16″ for the long side, and spaced about 11-12″ apart from each other. I then used the L shaped brackets and screws to secure the 2x4s to the top of the 2x8s (a mini power drill from Amazon was helpful during this, but not needed).
Final Steps,
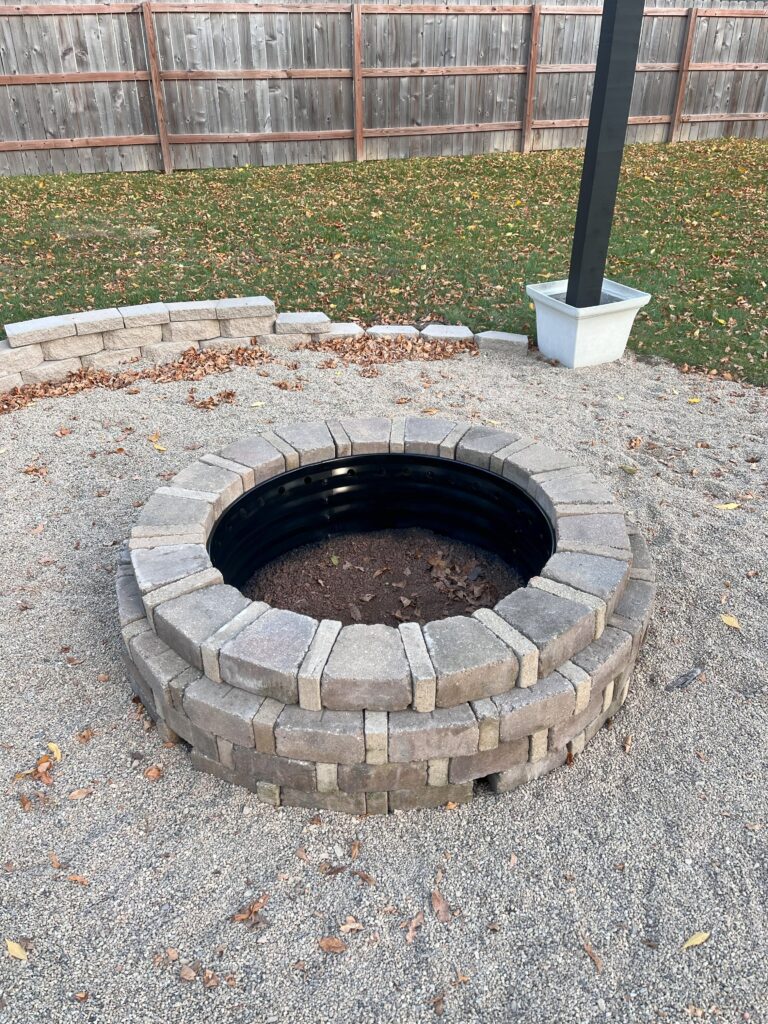
If you decide to spray paint your fire ring like I did, now is a great time! I used black ultra high-heat spray paint, and it just looks so sleek 😊
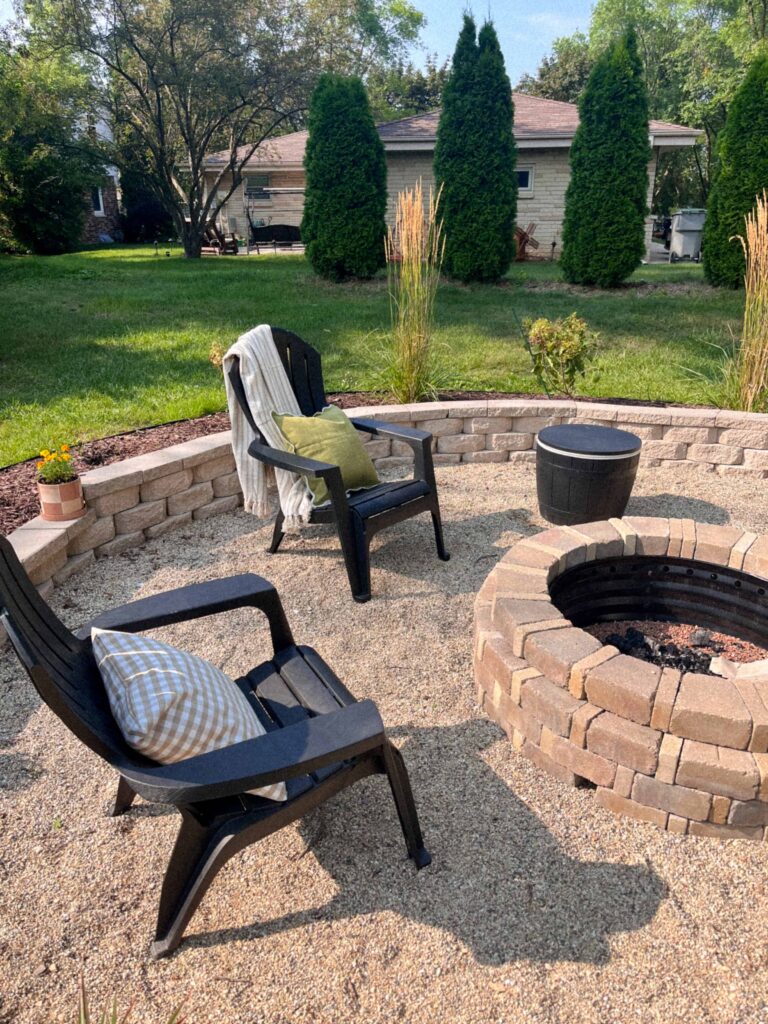
Yay, you’ve made it this far!! Now let’s add the bricks around the fire ring – it should alternate nicely between the trapezoid brick (or is it rhombus?!), and rectangle brick. After the first row is laid out, you’ll use the Loctite adhesive again to glue down the second, third, and fourth rows of firepit bricks. I had to do an extra step here and power wash my bricks since I got them second hand and they needed a good cleaning!
Finally, the wall caps!! I save this for last because it really is the least important – you still have a fully functioning fire pit area that looks really great! I had my dad help me with this, we laid out all the wall caps first, and then decided how many wall caps we would need to cut to fit. We ended up only needing to cut about 6 of them, and the rest we were able to finesse to fit and look good! To cut these, we used a circular saw, with a diamond blade. After that, you’ll want to glue these down as well so they don’t shift.
Optional Details
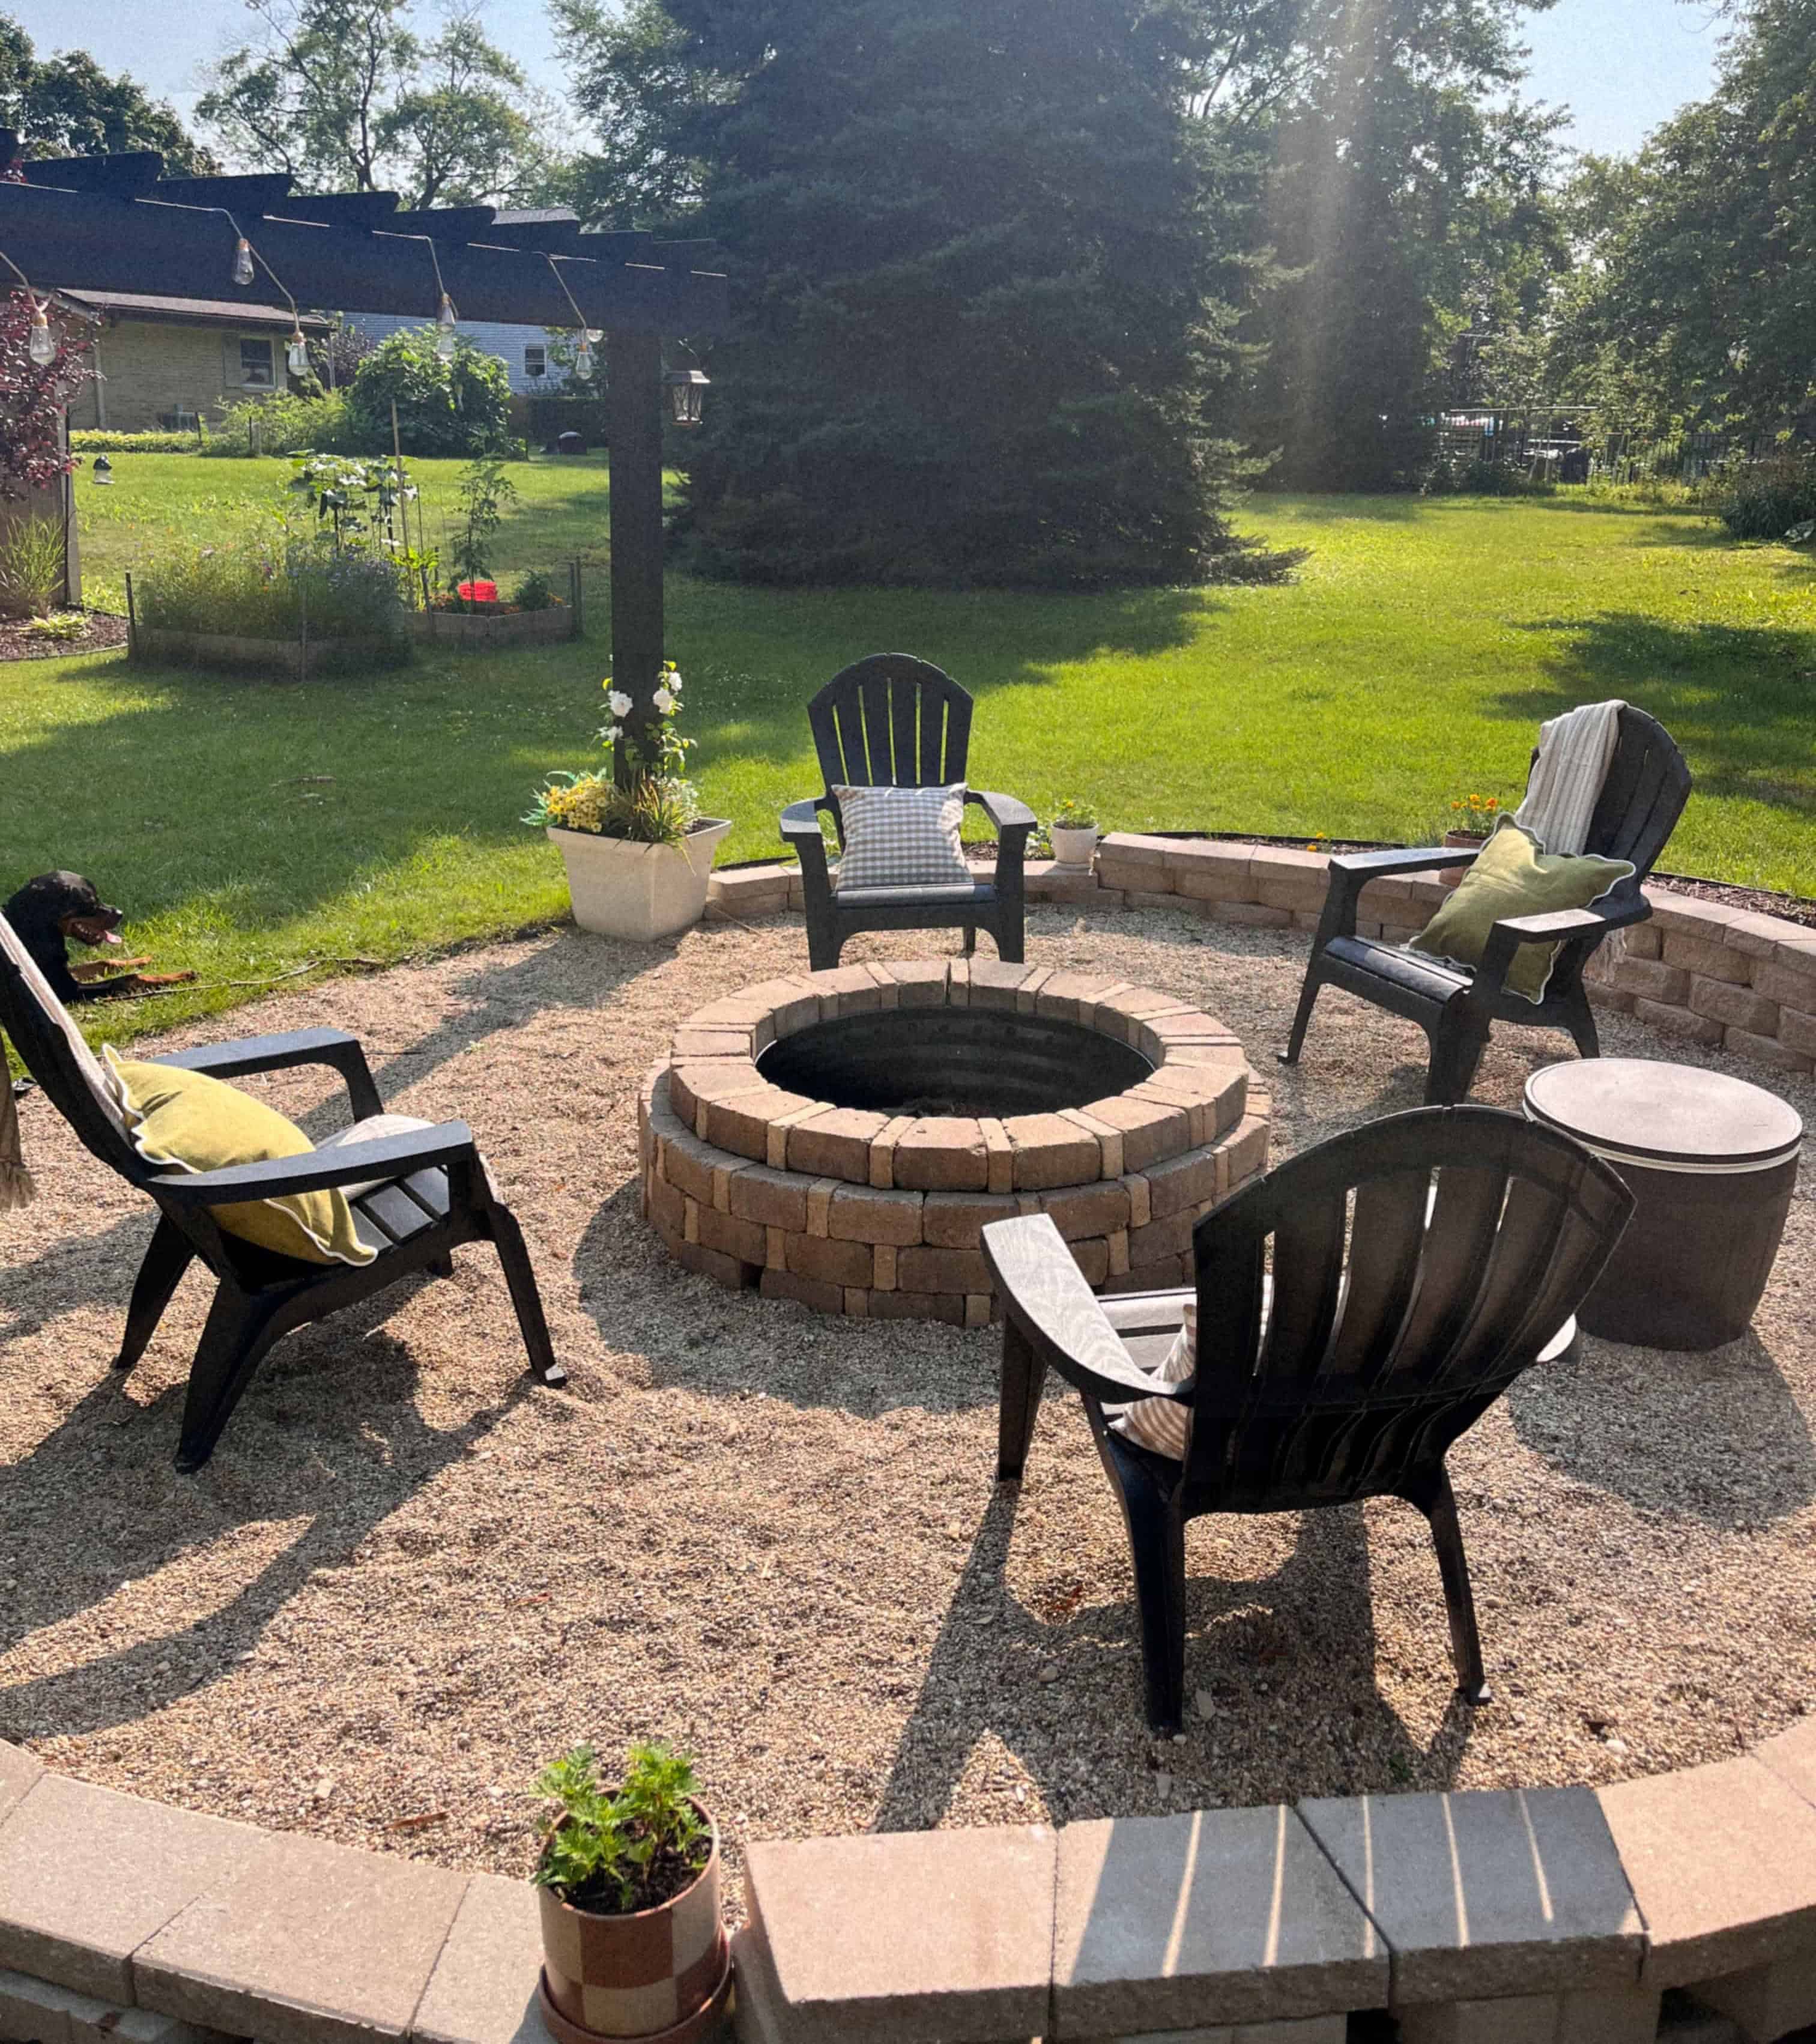
To make this area very fun and special, you can add some eyelet screws and add a projector screen for movies!! To do this I added four total eyelet screws, one at the top of each post (but below 2x8s), and one at the bottom of each post. It fits a projector screen PERFECTLY – you just use a carabiners to attach the screen to the eyelets. The screen and projector I got from Amazon and highly recommend both! You can just plug your Roku stick right into the projector, and bam, it’s like you have another TV. Additionally, I got a great cooler table that looks like a barrel and the top can adjusts heights, which is great for putting the projector on.
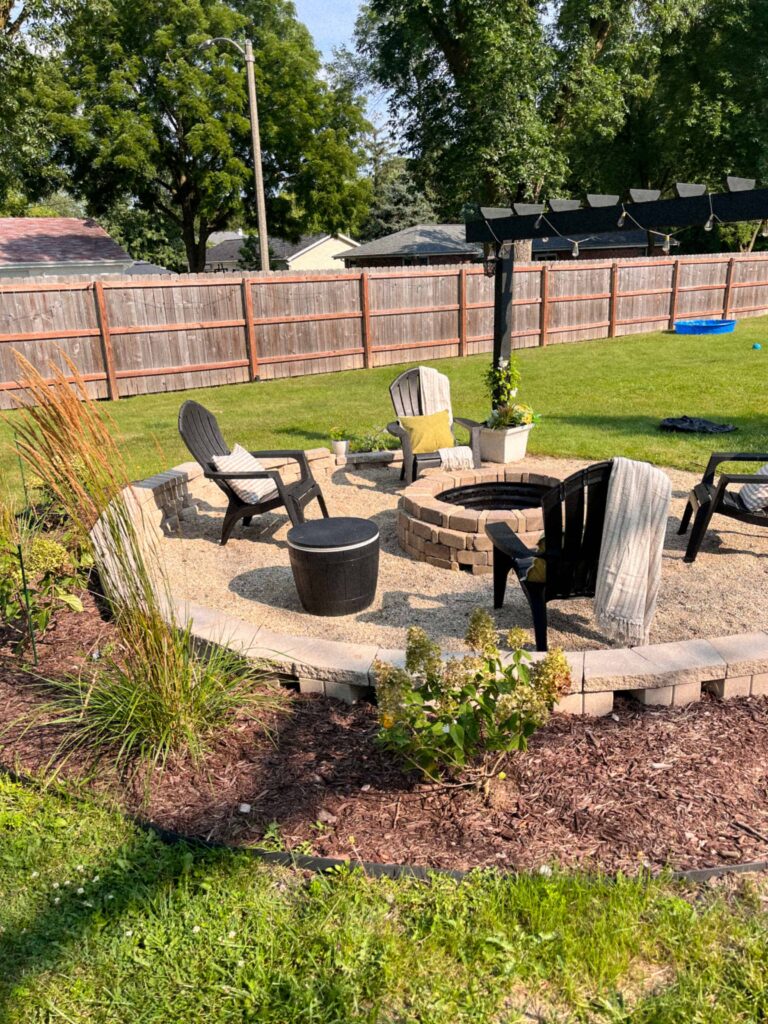
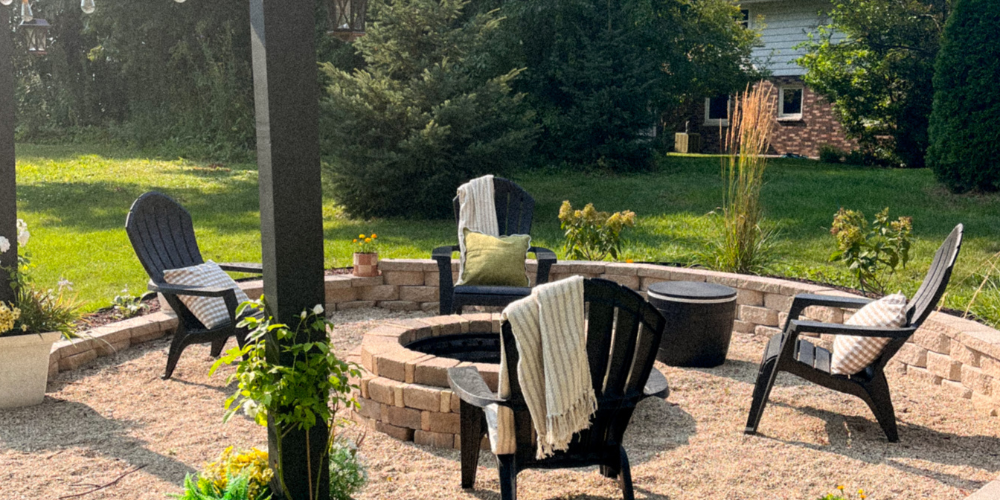
In terms of decorating, I added a really cute pair of solar lanterns to the posts, as well as some solar string lights. They both work amazing and last late into the night. I also just added dirt/soil and some climbing roses to the plastic planters – and hoping over the next few years we have some awesome roses over the pergola! I also got some very affordable Adirondack chairs, and added some blankets and pillows to really cozy up the vibe.
Congrats – now you have the dreamiest fire pit in your backyard and for an amazing price!! Enjoy and let me know if you have any questions 😊