Halloween is one of my favorite holidays to celebrate, follow along for my 20 Days of DIY Fall/Halloween Decor – Budget friendly!
This site contains affiliate links, view disclaimer for more information
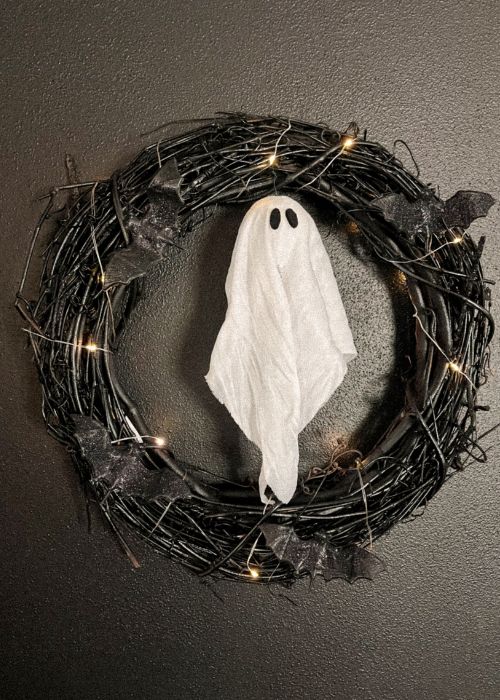
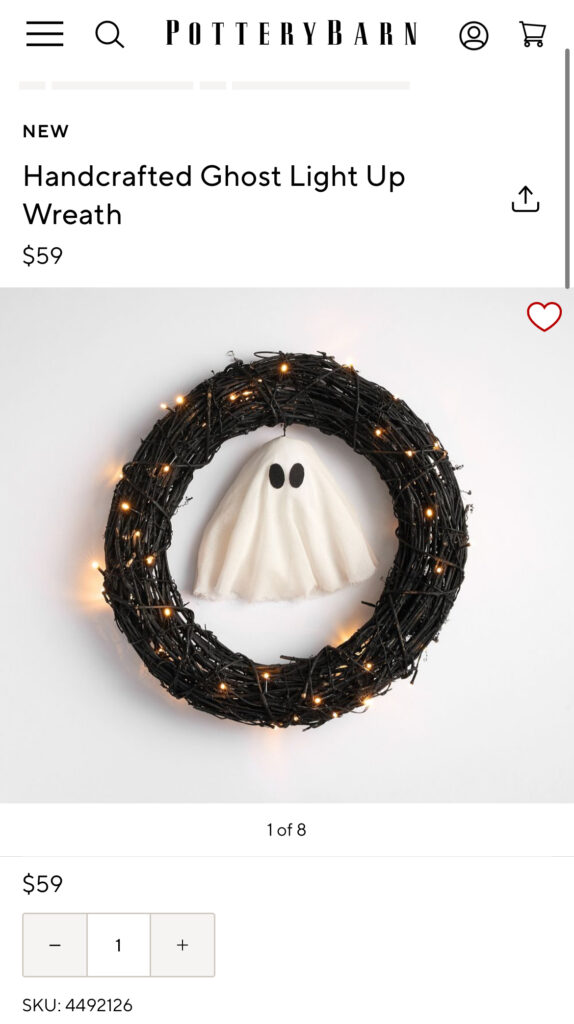
This spooky wreath is inspired by Pottery Barn’s Ghost Light Up Wreath – this one is a fraction of the price, and just as cute!! Let me walk you through the materials needed, and how I created my wreath. See below for the video!

Materials (everything linked above with prices):
- Grapevine Wreath
- Black Spray paint
- Wire
- Ghost fabric – Dollar Tree (tagged similar item)
- Styrofoam balls – Dollar Tree (tagged similar item)
- Peel & Stick felt
Optional (but makes it top notch):
- Bats – Dollar Tree
- Fairy Lights
Pottery Barn’s Wreath:
How To:
To get started, go into a well ventilated area. Put down some newspaper or whatever/wherever you feel comfortable spray painting the wreath. To Add: You could buy a black grapevine wreath, however they are more expensive, and I personally already had black spray paint on hand, so for me it just made sense to spray paint it. After spray painting it, leave it out to dry a little bit. While that is drying, you can start to put together the mini ghost that goes in the center.
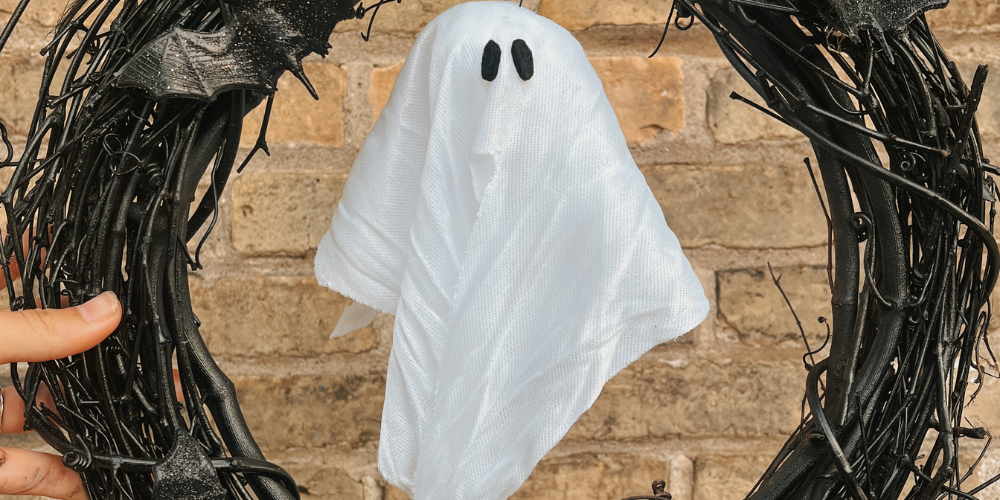
I got my large hanging ghost and Styrofoam balls from the Dollar Tree. I just cut and used the fabric from the large outdoor hanging ghost to make my little ghost! All I did was cut a small portion from the bottom and made sure it was the right length. I didn’t cut it any special way – it pretty much falls into place nicely on its own! I put down one small piece of fabric over the Styrofoam ball to act as a cover, and then the larger piece of draping fabric – I did this because otherwise the Styrofoam can snag the fabric – so I wanted to be cautious of that, and have a base layer before the main piece of fabric right over top.
Once you have the fabric on your Styrofoam ball, you can start to cut the ghost eyes – I tried to make little ovals and I think it turned out pretty cute! I decided to use adhesive too because they stick very well and it’s a lot less hassle. After the eyes are on, you can cut your wire and then just put one end into the ghost head and then hang the other end into the grapevine wreath (similar to hanging an ornament).
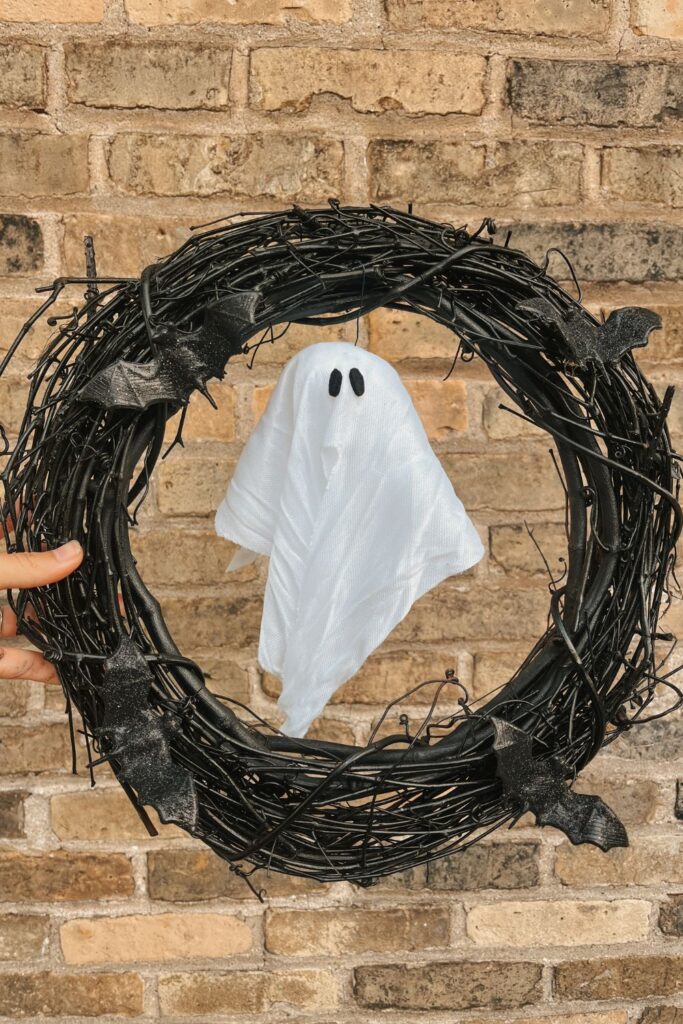
The main part is done – woohoo! After this, I got cute little bats from Dollar Tree and they had little clips on the back of them, so I clipped all four of them into the wreath. After those were on, I added the cute little fairy lights to complete it! I highly recommend the fairy lights I linked above as they are the perfect length, small battery pack, and its under $10 for 12 of them!! I used what I had on hand which had silver wire – but I linked the black wired fairy lights with orange lights, that would make it look even more like Pottery Barn’s wreath!