
Are you new to gardening and want to know how to fill a raised garden bed?! Read below for the easiest and most affordable way!
This site contains affiliate links, view disclaimer for more information
Filling your raised garden bed will cost you $0 other than the cost of the soil! Most of these items can be found just laying around your yard 🙂
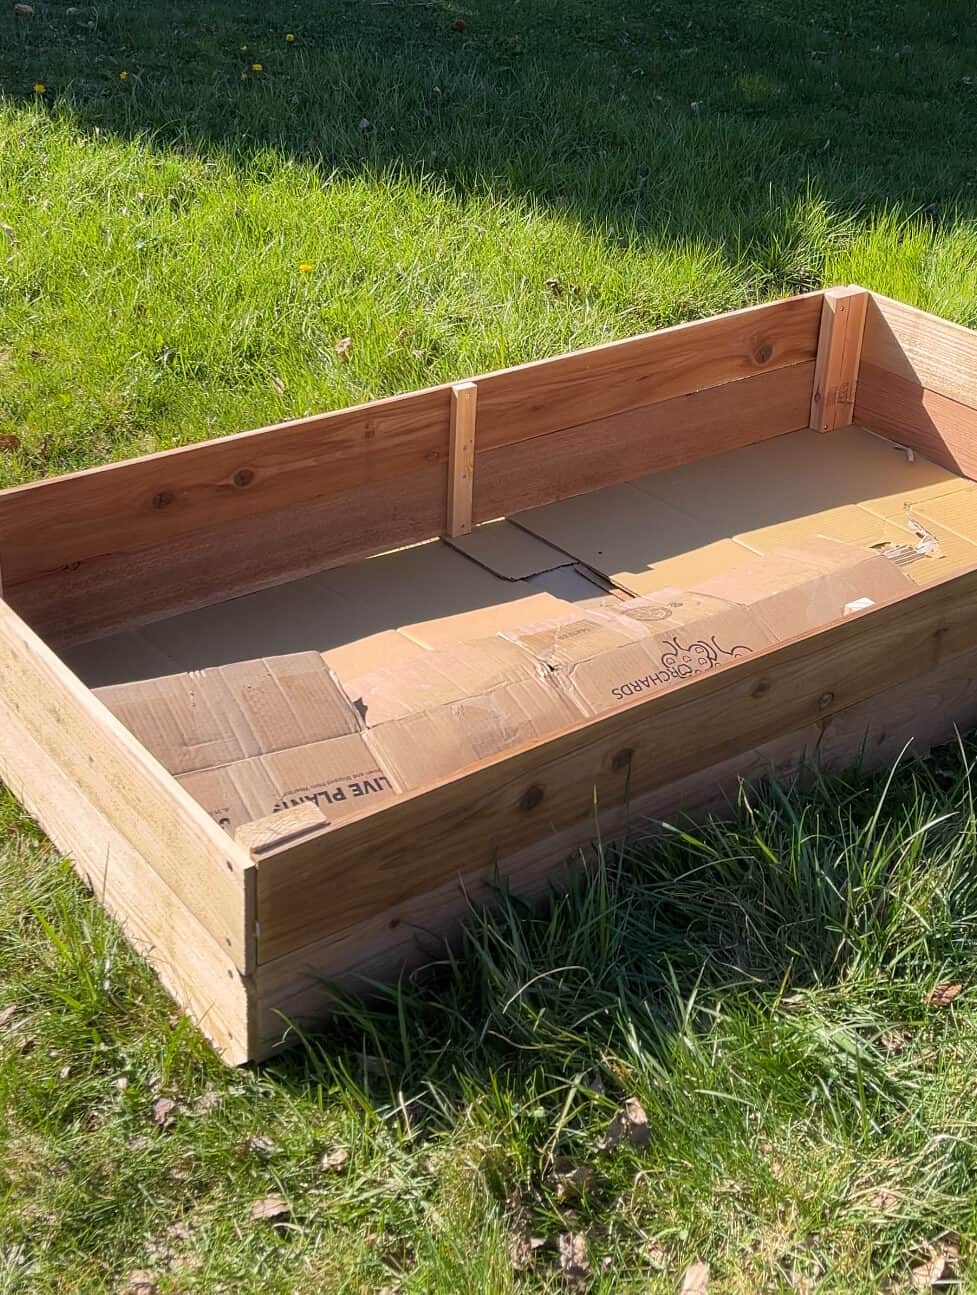
To start, if you don’t have a bottom to your raised garden bed, add cardboard and feel free to layer it up a little bit! Adding cardboard helps keep weeds from growing up underneath and is very important to have. Once you add your cardboard, spray it down with water.
See the picture of my planter bed – I layered cardboard, and made sure the cardboard extended out past the end of the planter, so no sneaky weeds make their way up!
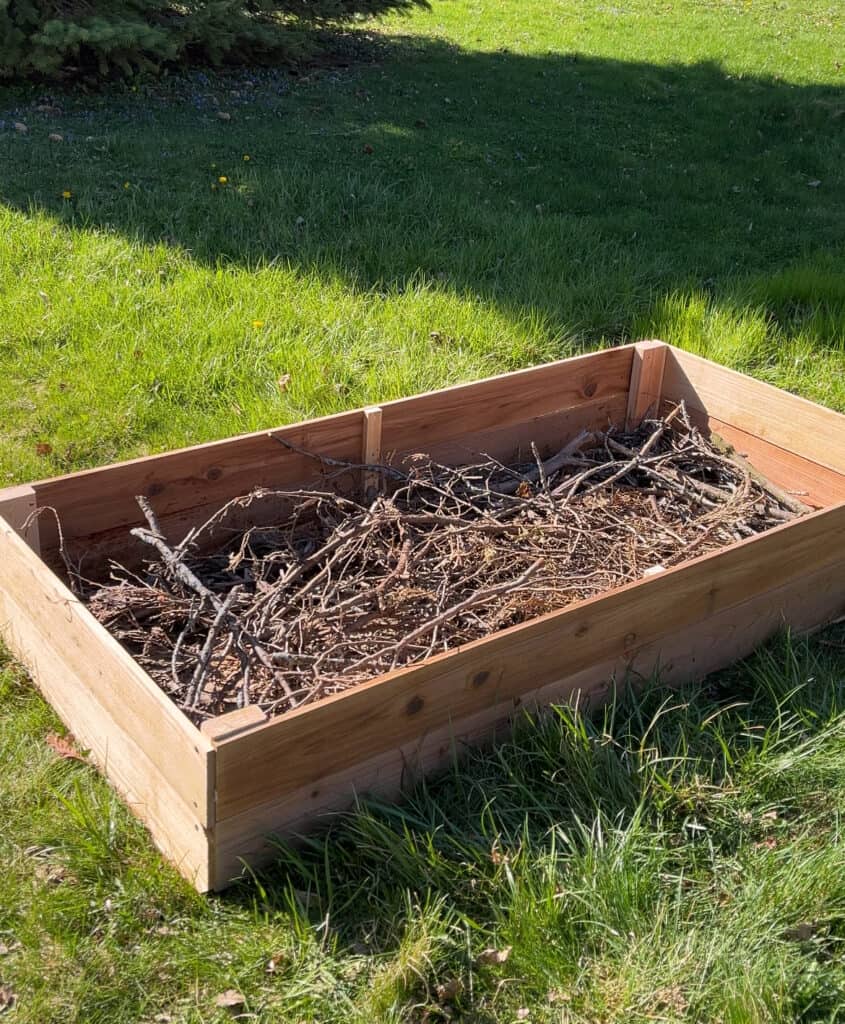
After adding cardboard, gather all the brush and sticks that you can! Add these on top of the cardboard – you want to try and fill it half way with brush and sticks. Next, add lots of leaves – I personally still had lots of leaves around from fall and was able to gather a bunch. After filling with leaves, spray down with water and WALK ALL OVER IT, you want to compress it so when you add your soil and seeds, it doesn’t all sink down later.
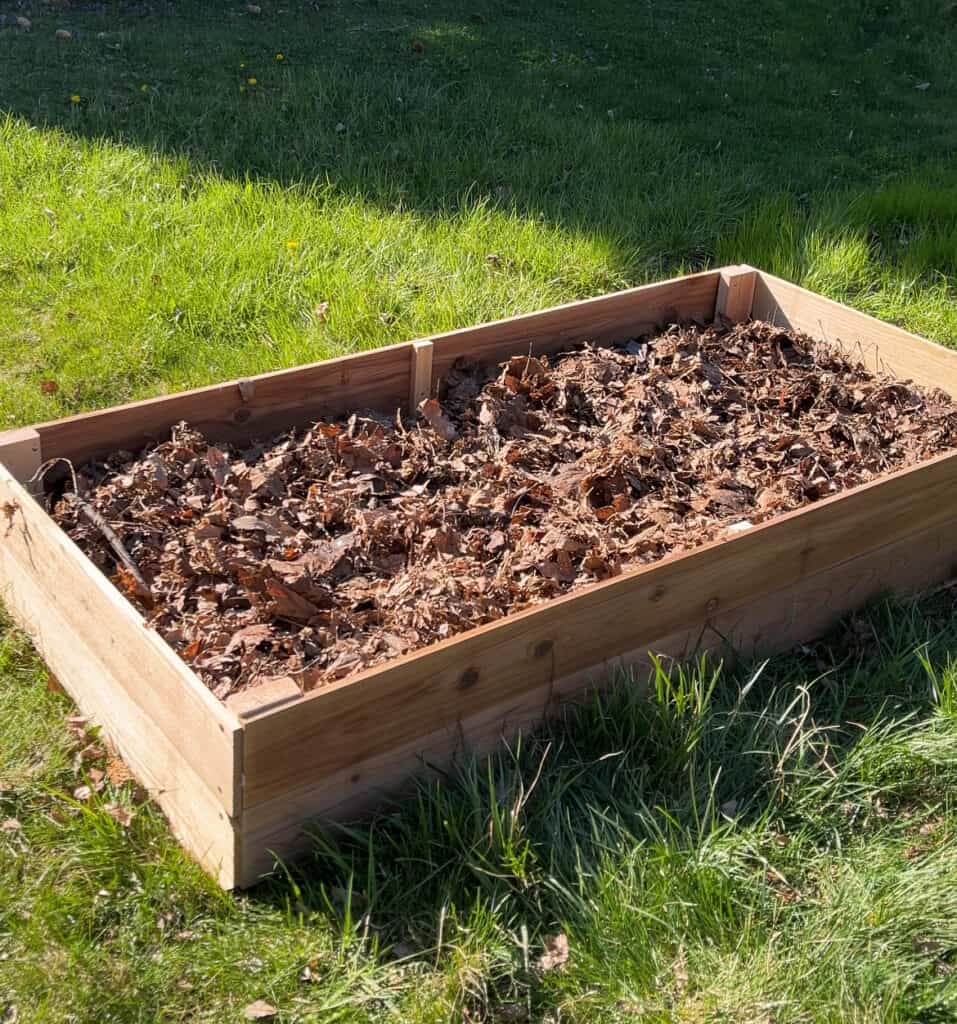
After adding the leaves, I still had some room to fill. I had leftover dirt and woodchips laying around so I filled that up close to the top. Another great thing to add if you have it, is compost – this is the perfect time for that! If you don’t have extra woodchips or dirt, etc. laying around, just use extra brush and sticks, as well as more leaves!
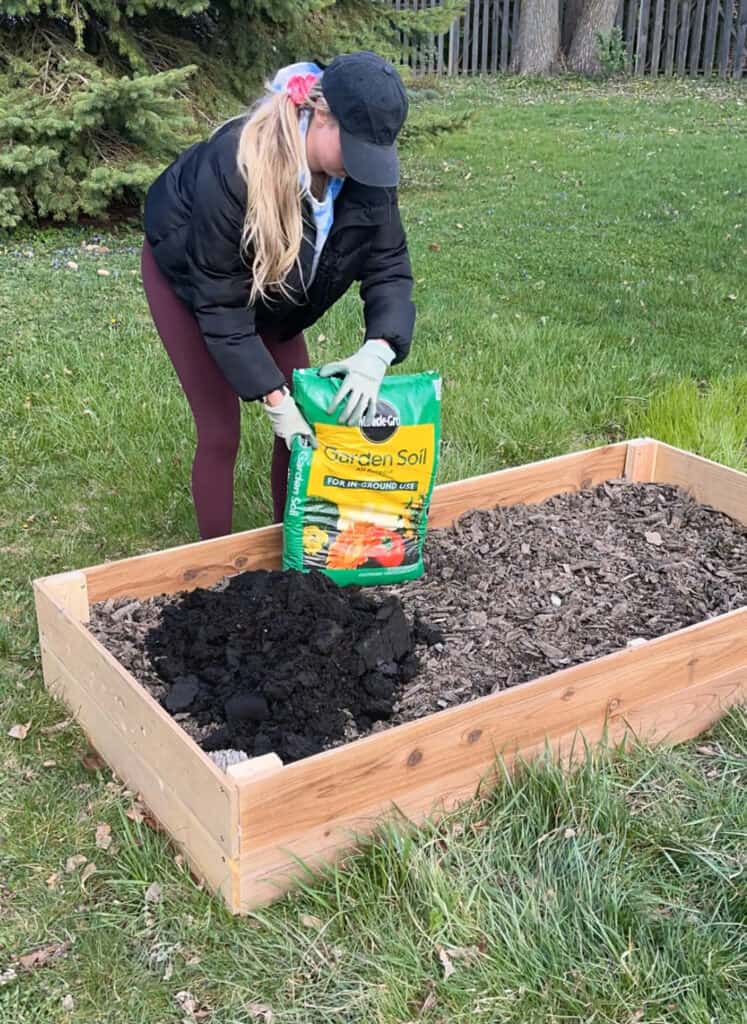
Once you finish filling those items, add your soil! For this 6×3 ft garden bed, I needed 7 bags of soil. I bought the Miracle Gro Garden Soil meant for in-ground use – it’s only around $4 a bag compared to the “raised garden bed” ones, and it works just as well 🙂

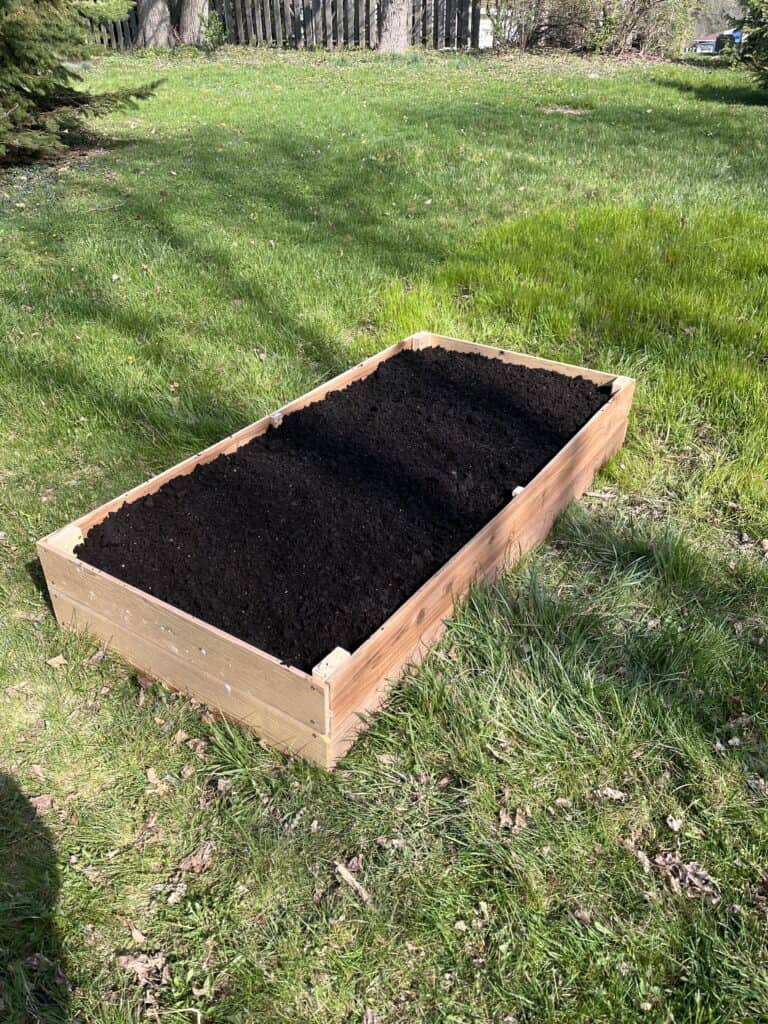
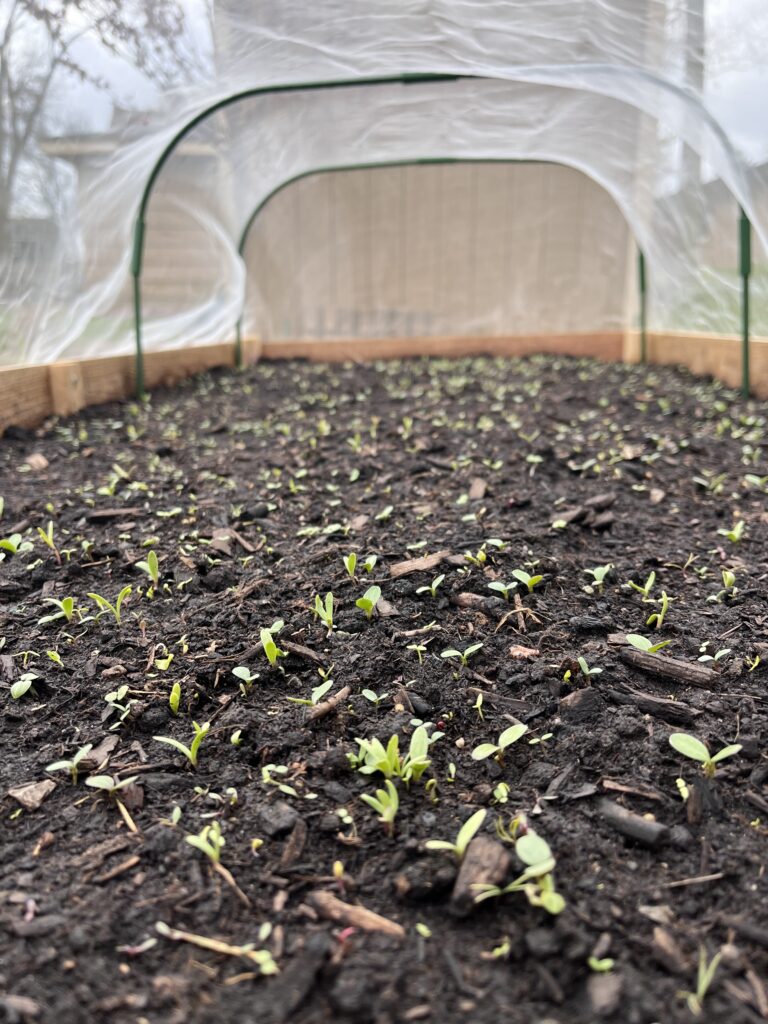
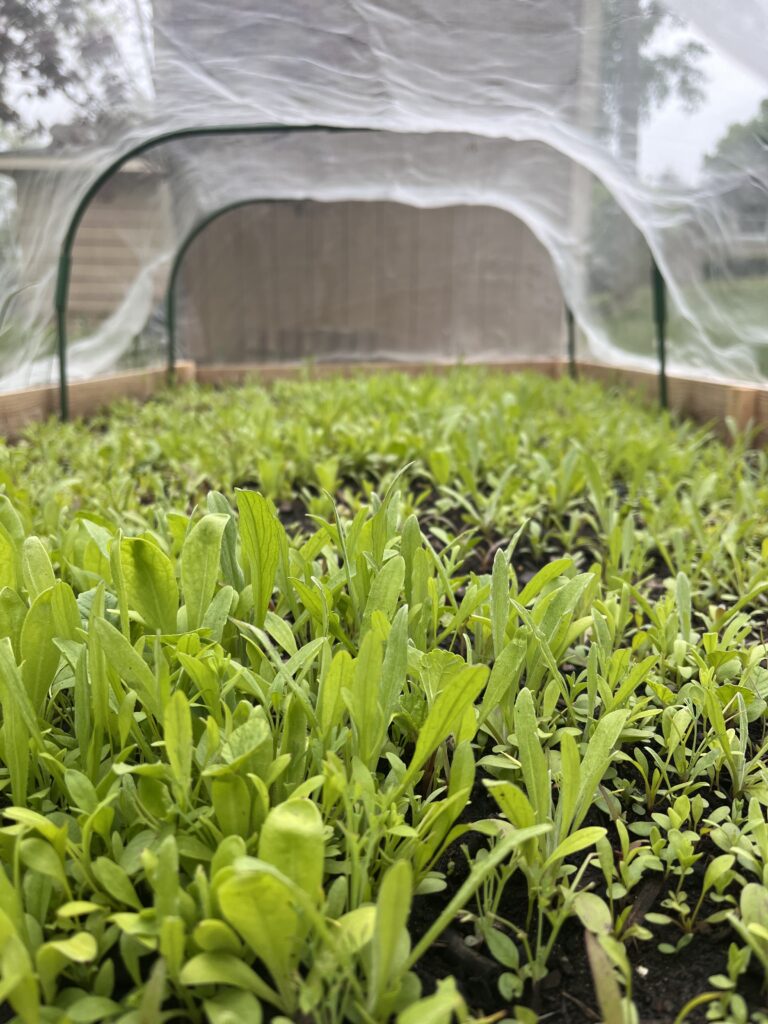
Lastly, add your flowers or your veggies 🙂 I made this my flower box – I added some wildflower mix seeds! See below for updates along the way.
View How to make a raised garden box here! 🙂
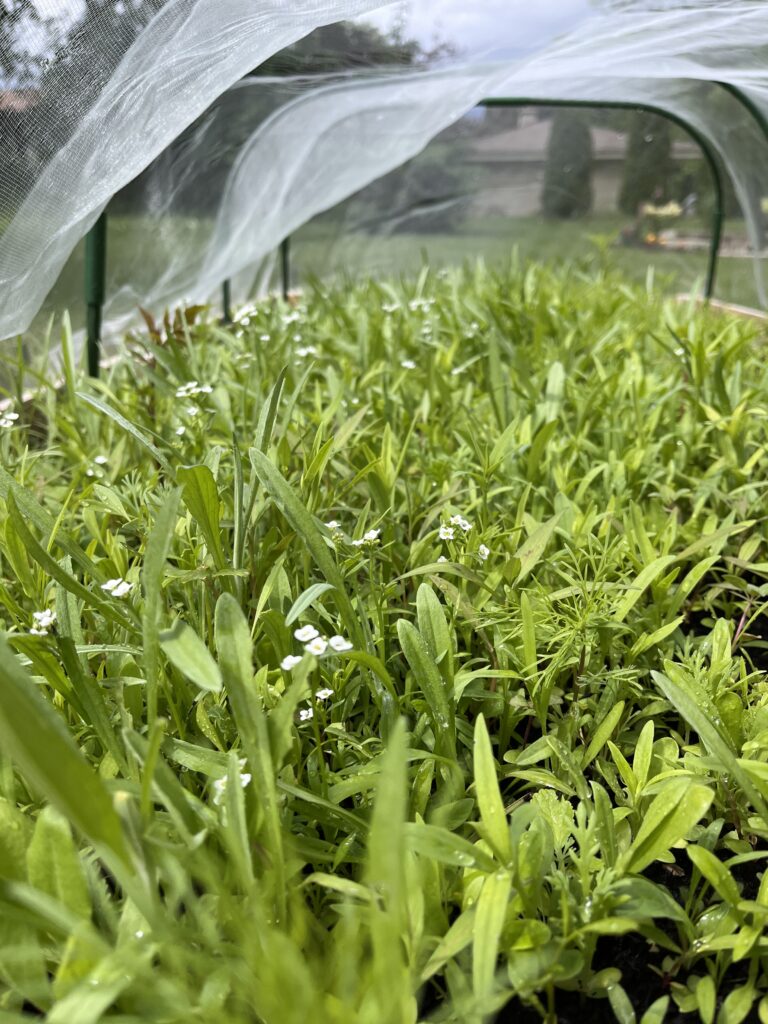
First blooms have started showing up!!! Woohoo! Most blooms around 50-55 days – getting closer indeed!